Video walkthrough coming soon
The written steps below cover everything in the meantime.
About 4 min to follow along
When you’re done
- Know where every feature lives
- Read today’s numbers at a glance
- Find anything fast with search, New appointment and Help
- 1
Home: your day at a glance
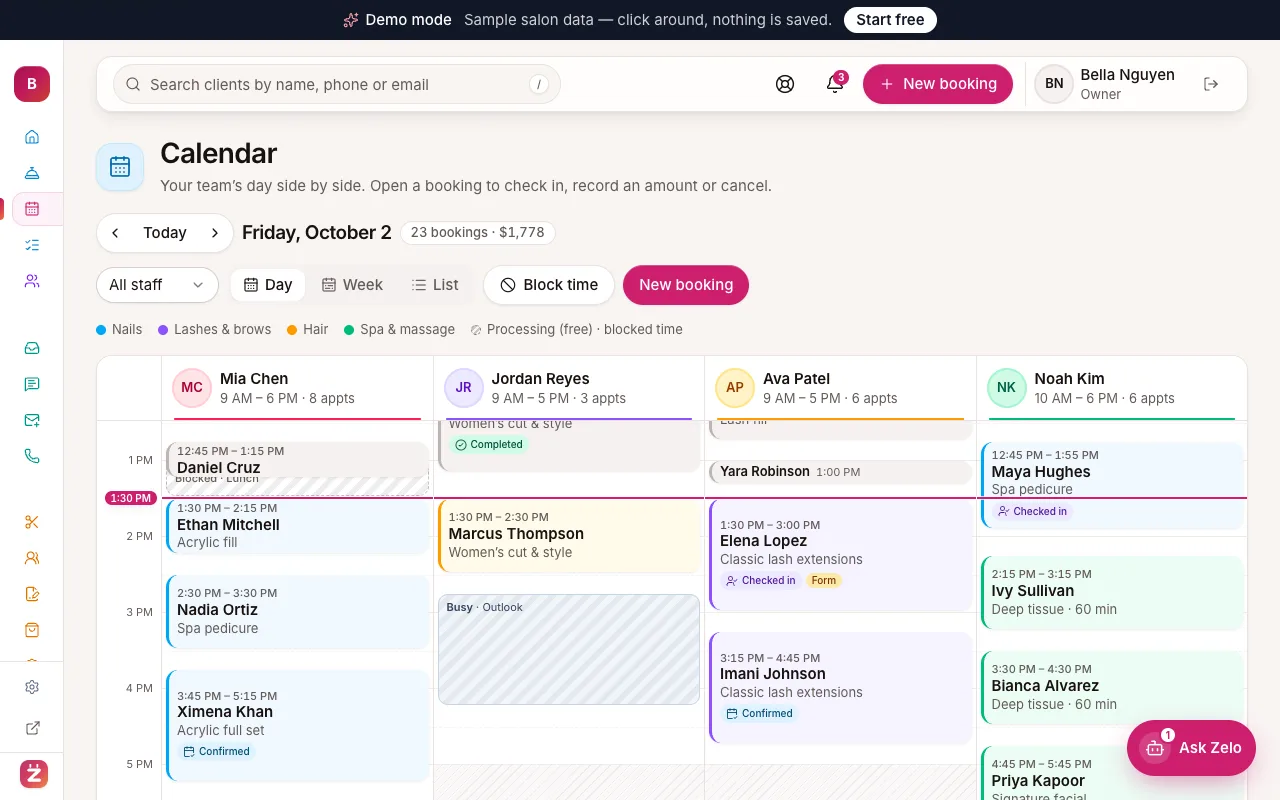
Home opens first. The top row shows today’s numbers: Bookings, Here now, Still to come, Completed, Recorded (the amount recorded today) and No-shows. Below is a timeline with one row per team member.
Use the “Everyone” menu (1) to show only one person’s day, or click “Walk-in” to add someone who just came in. “Today’s schedule” (2) lists every booking — click a row to open it. “Up next” and “Finished” are on the right.
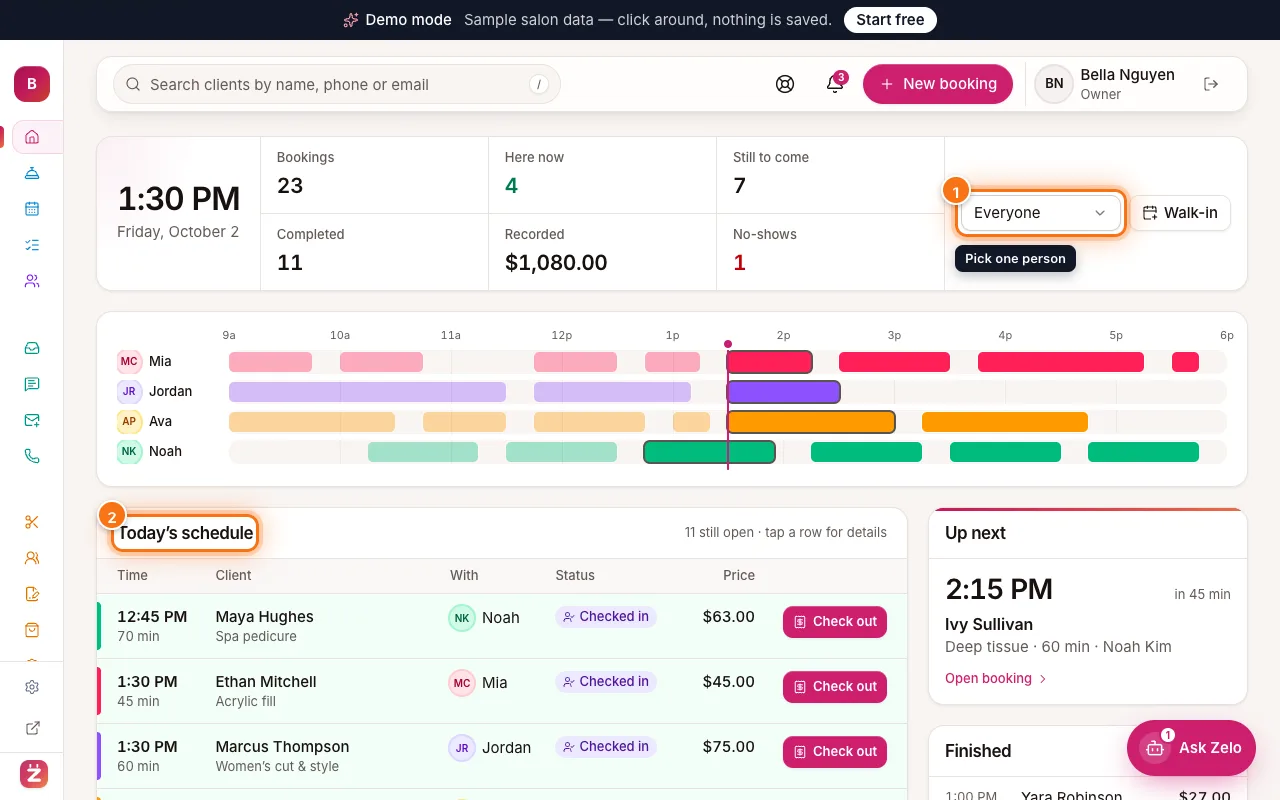
Home: today’s numbers and timeline, with the Everyone menu (1) and Today’s schedule (2) highlighted - 2
Find your way with the left menu
On a computer, the left menu is a slim strip of icons. Point at it (or press Tab) and it slides open with names. Click the panel icon at the bottom to keep it open.
- Home, Front desk, Calendar (1), Waitlist and Clients — your daily work
- Communication — Inbox (website messages), Texts, Subscribers and Phone
- Business — Services (2), Team, Forms, Products, Promotions, Inventory, Reports and Payroll
- Online presence — Website, Social, Media and Insights
- Settings (3) — at the bottom, with “View booking page” under it
Items marked “Soon” aren’t switched on yet. On a phone or tablet, the bar at the bottom of the screen has Home, Calendar, Clients and Inbox (the front desk sees Front desk first if Home isn’t theirs); tap “More” for every other section, in the same groups.
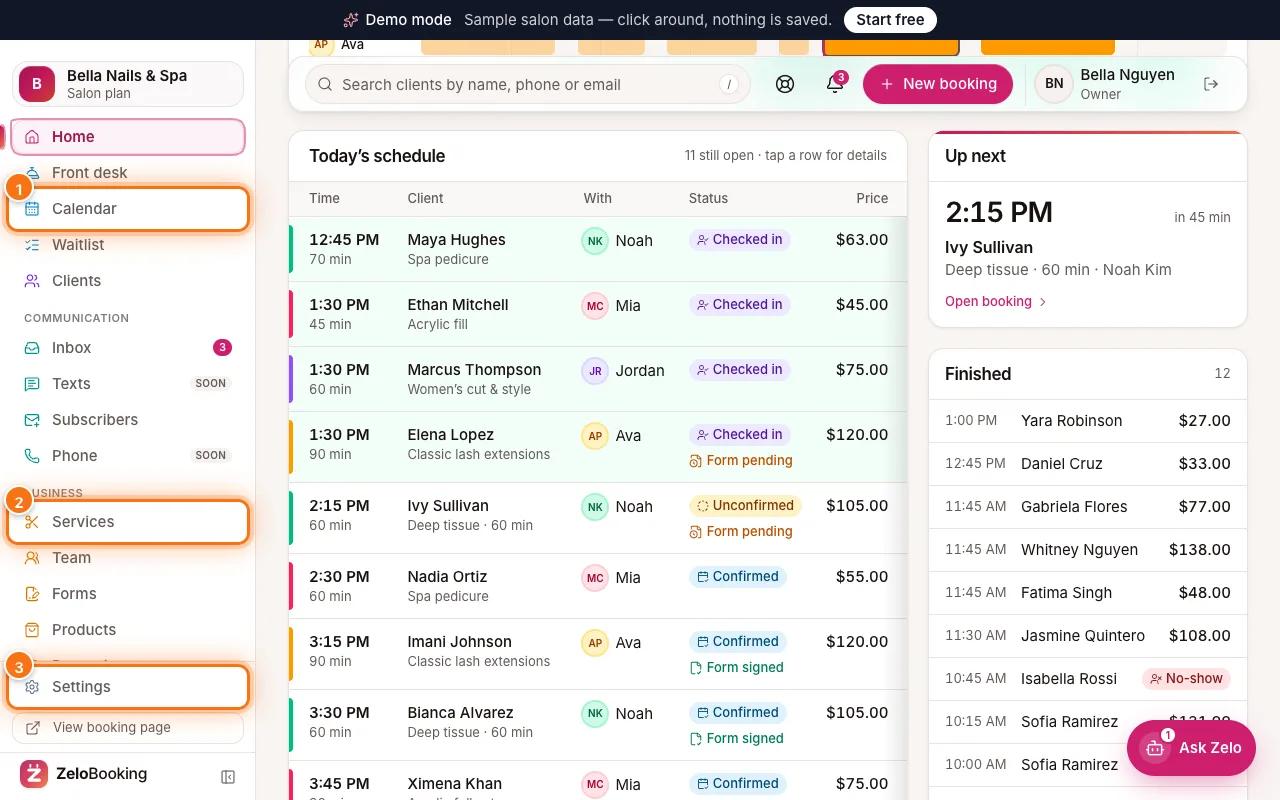
The left menu opened, with Calendar (1), Services (2) and Settings (3) highlighted - 3
Search, alerts and New appointment
The bar at the top is on every page:
- Search box (1) — type a client’s name, phone or email (or press /) to jump to them
- Bell (2) — new online bookings, cancellations and messages; the number shows how many are new
- “New appointment” (3) — book an appointment from any page (the + on phones)
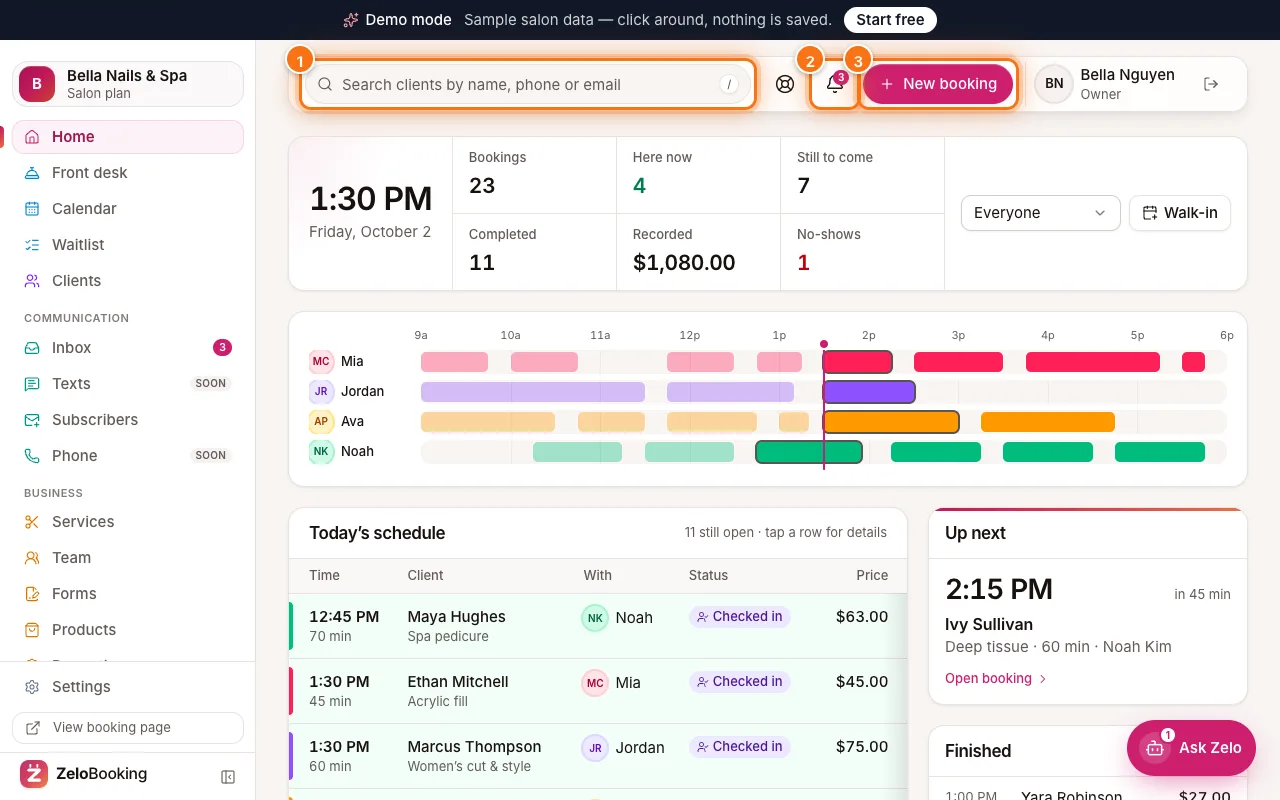
Top bar with the client search (1), notification bell (2) and New appointment (3) highlighted - 4
Get help any time
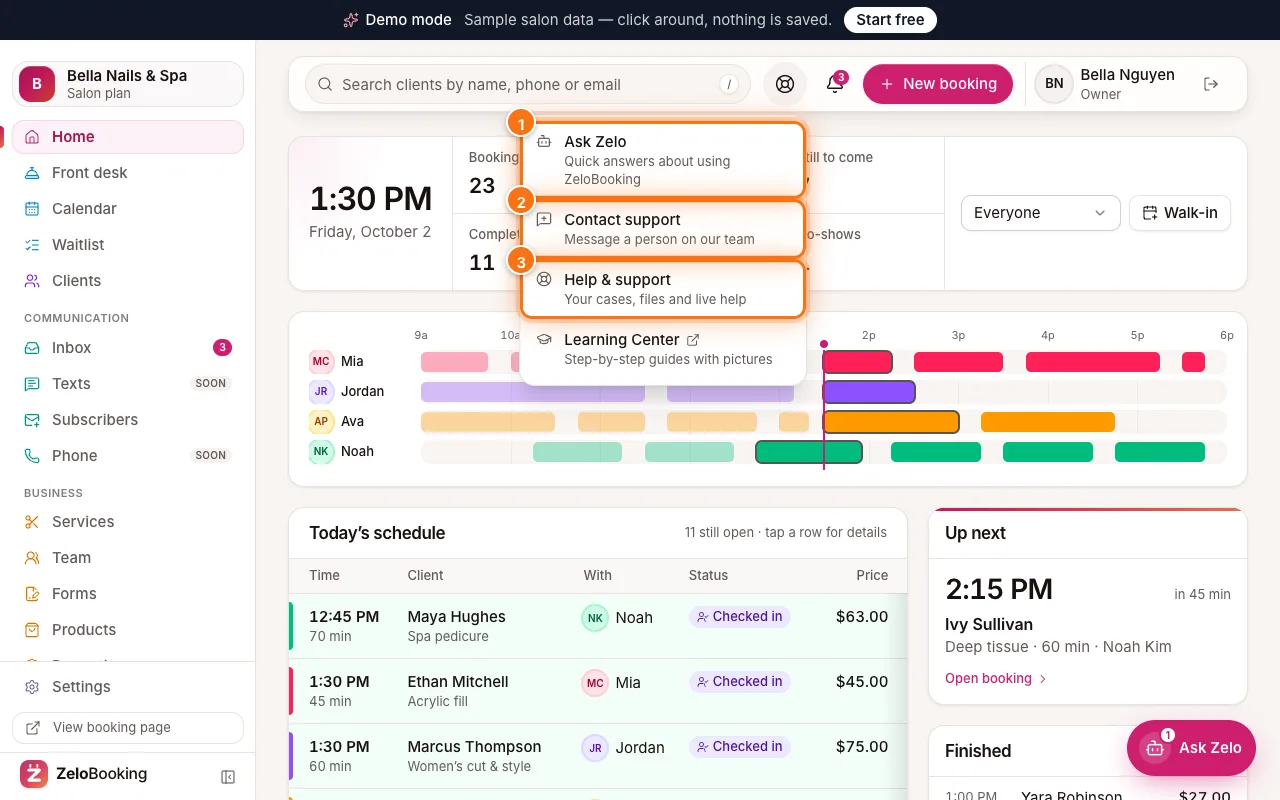
The lifebuoy button (1) in the top bar opens the Help menu: Ask Zelo, Contact support, Help & support and the Learning Center.
The “Ask Zelo” button (2) at the bottom right opens our help assistant. Ask things like “How do I block time off?” and it answers with steps and a link to the right screen.
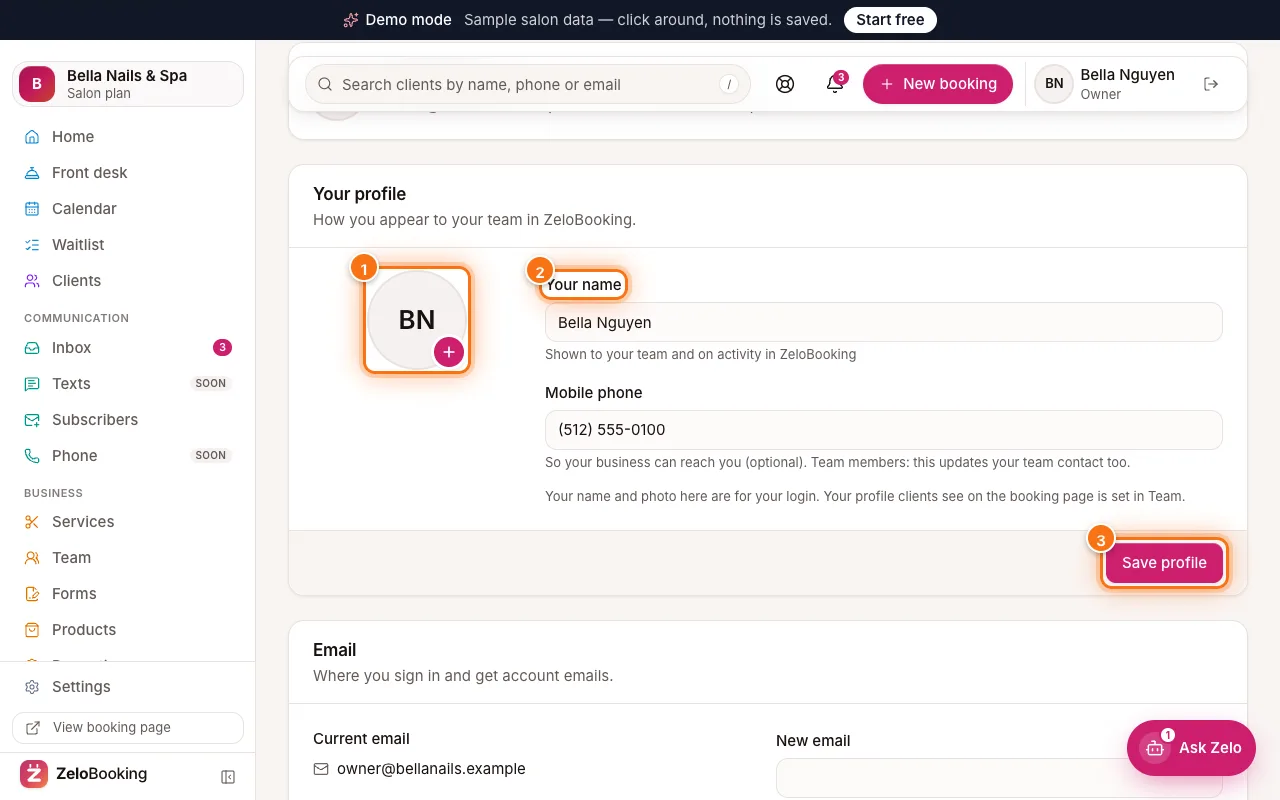
Tip: Your name and photo at the top right open your own profile; the arrow icon next to it signs you out.
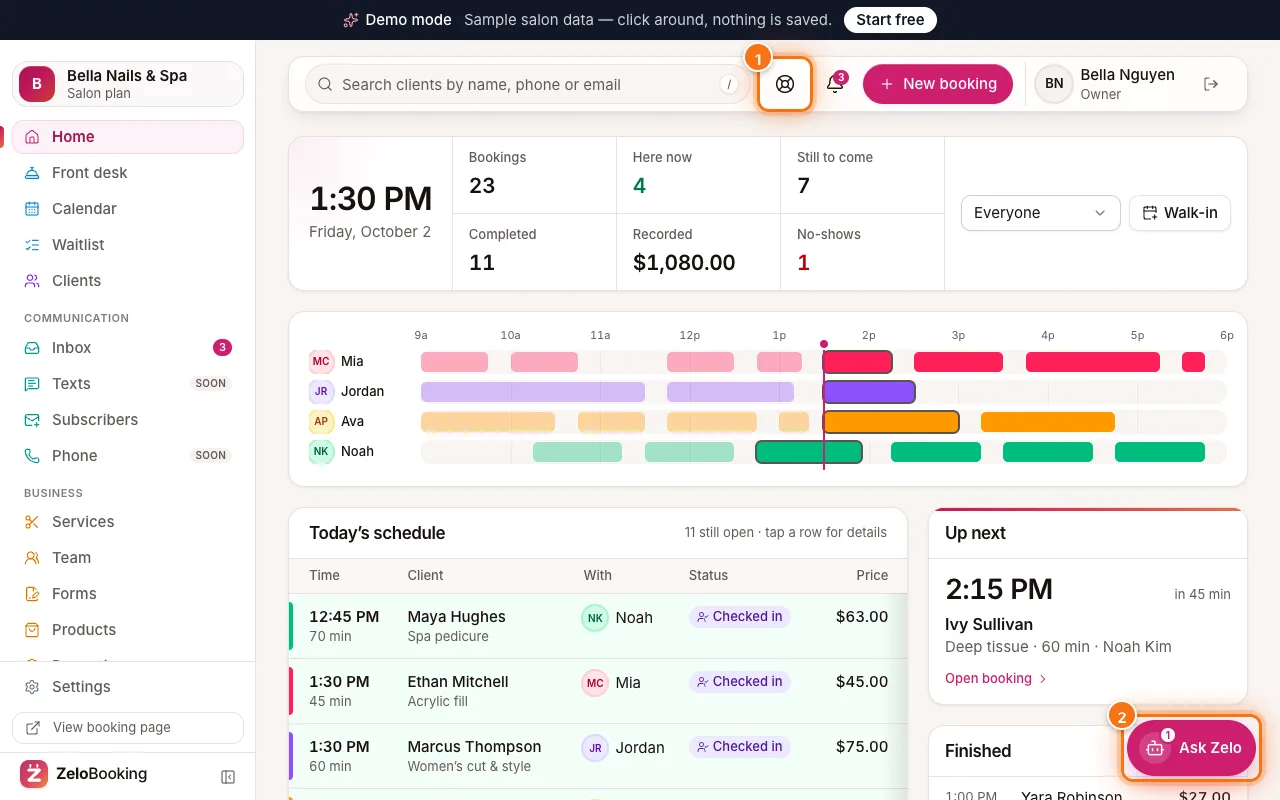
Top bar Help button (1) and the Ask Zelo button at the bottom right (2) highlighted