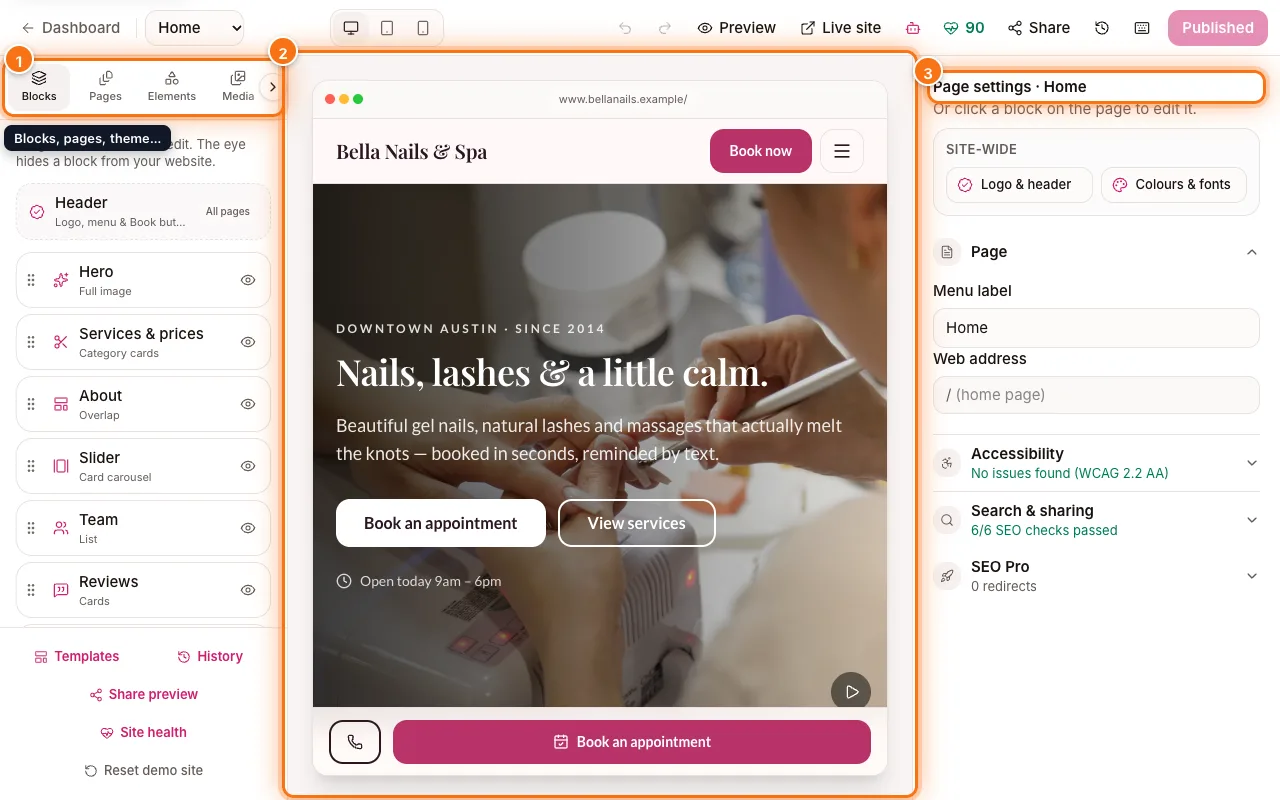
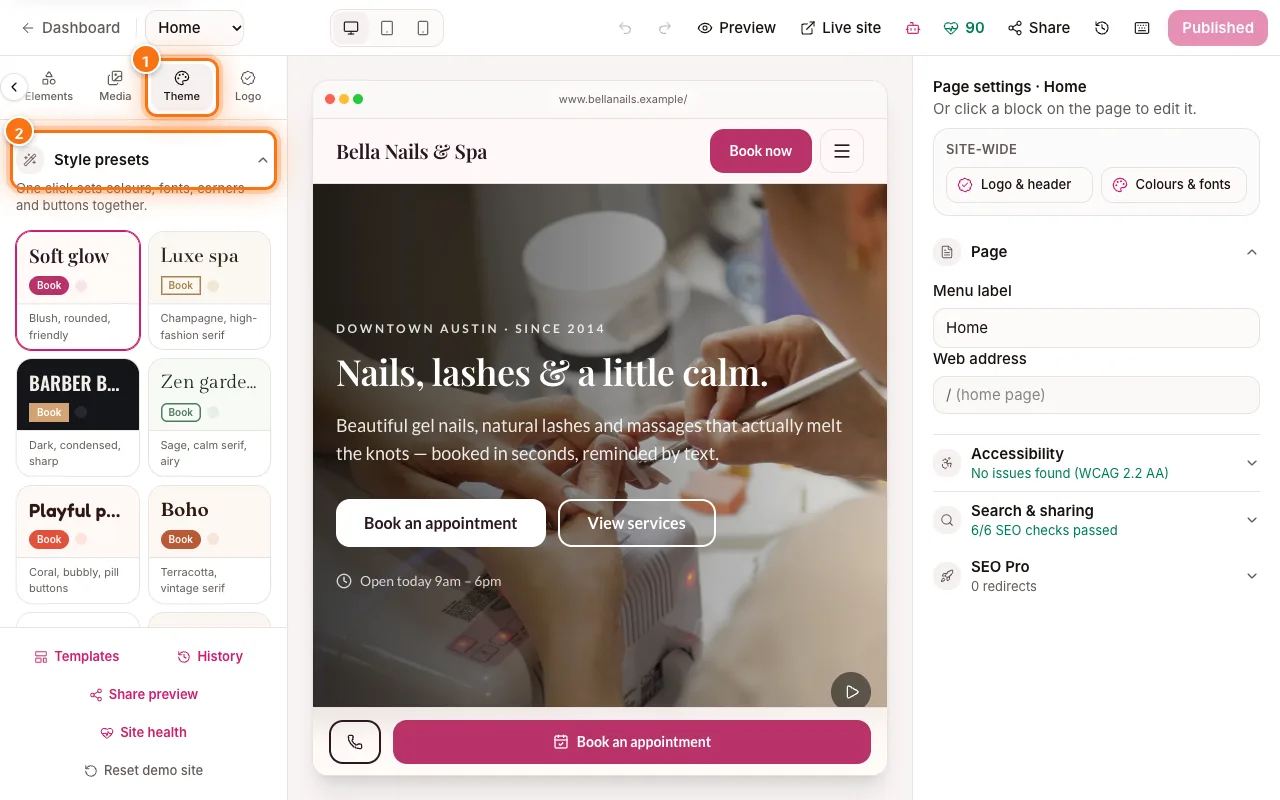
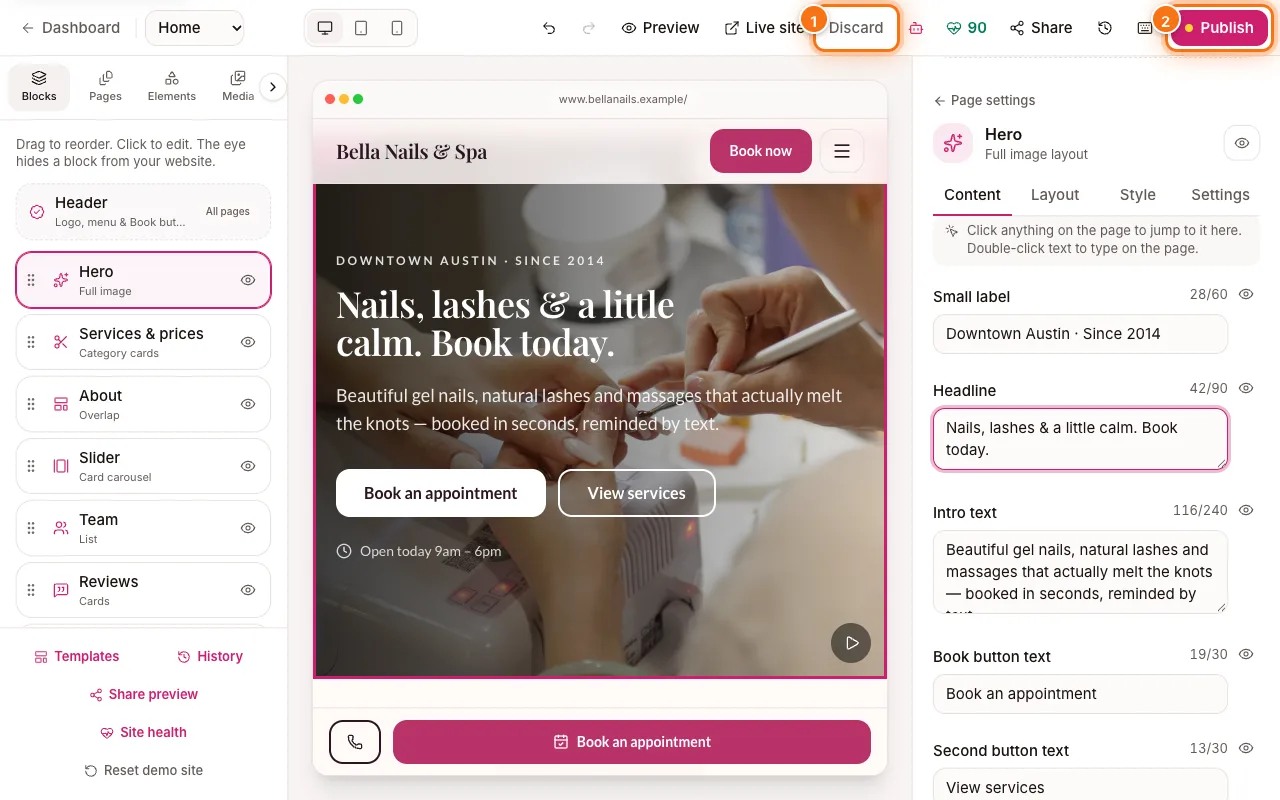
Video walkthrough coming soon
The written steps below cover everything in the meantime.
About 4 min to follow along
When you’re done
- A professional website in a few minutes
- A design that suits your trade and your brand
- Your menu, team and hours already on it
- 1
Look around the template gallery
Anyone can browse the designs at zelobooking.com/templates. Click your trade at the top — for example “Nails” (1) — to see only those designs.
Click any card (2) to open a live preview. It’s a real, clickable website with a sample menu, team and hours, so you can try it the way a client would. Cards marked “Video” play a short clip when you point at them.
Tip: Open the preview on your phone too — most of your clients will see your website on a phone.
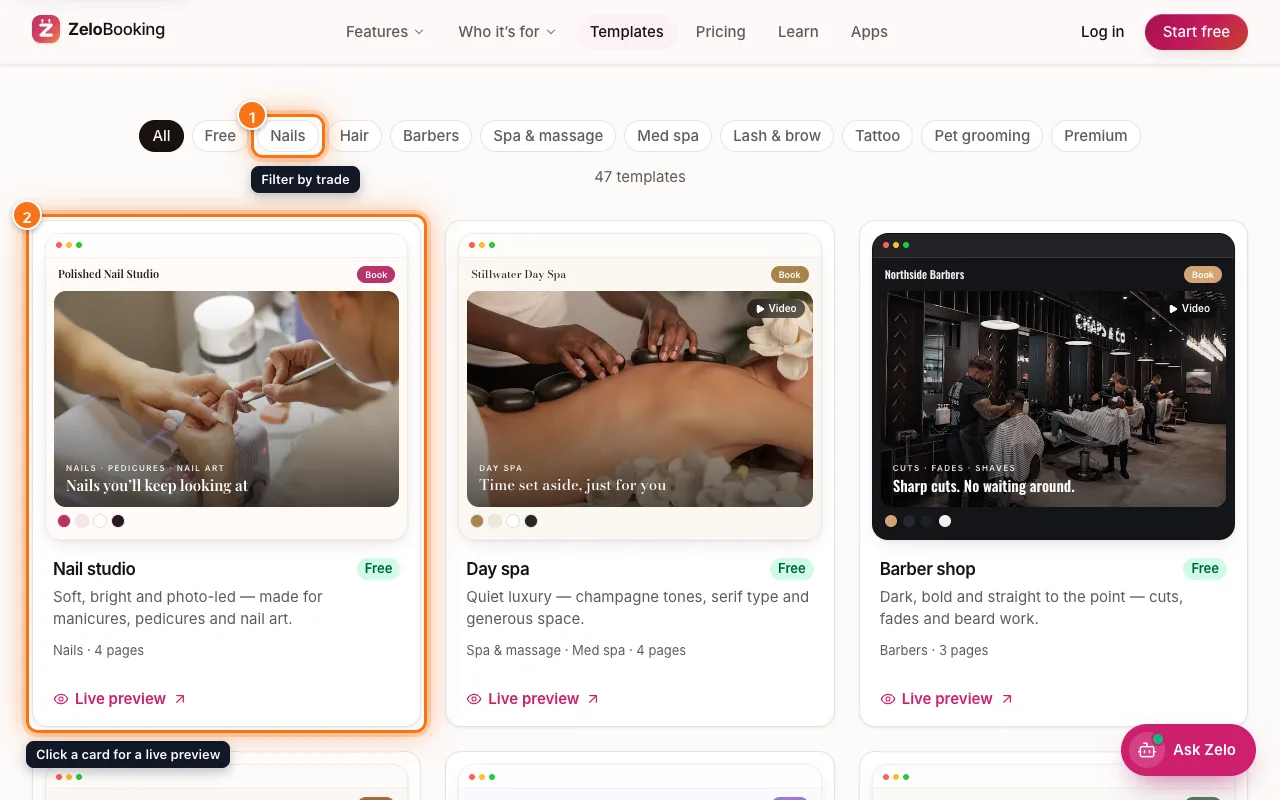
Template gallery on zelobooking.com with the Nails filter (1) and a template card (2) highlighted - 2
Open the templates in your editor
In your dashboard, go to the left menu → Website and click “Edit website”. In the editor, click “Templates” (1) at the bottom of the left panel.
You can also get here from the Website page: under “Look & feel”, click “Change” or “Browse industry templates”.
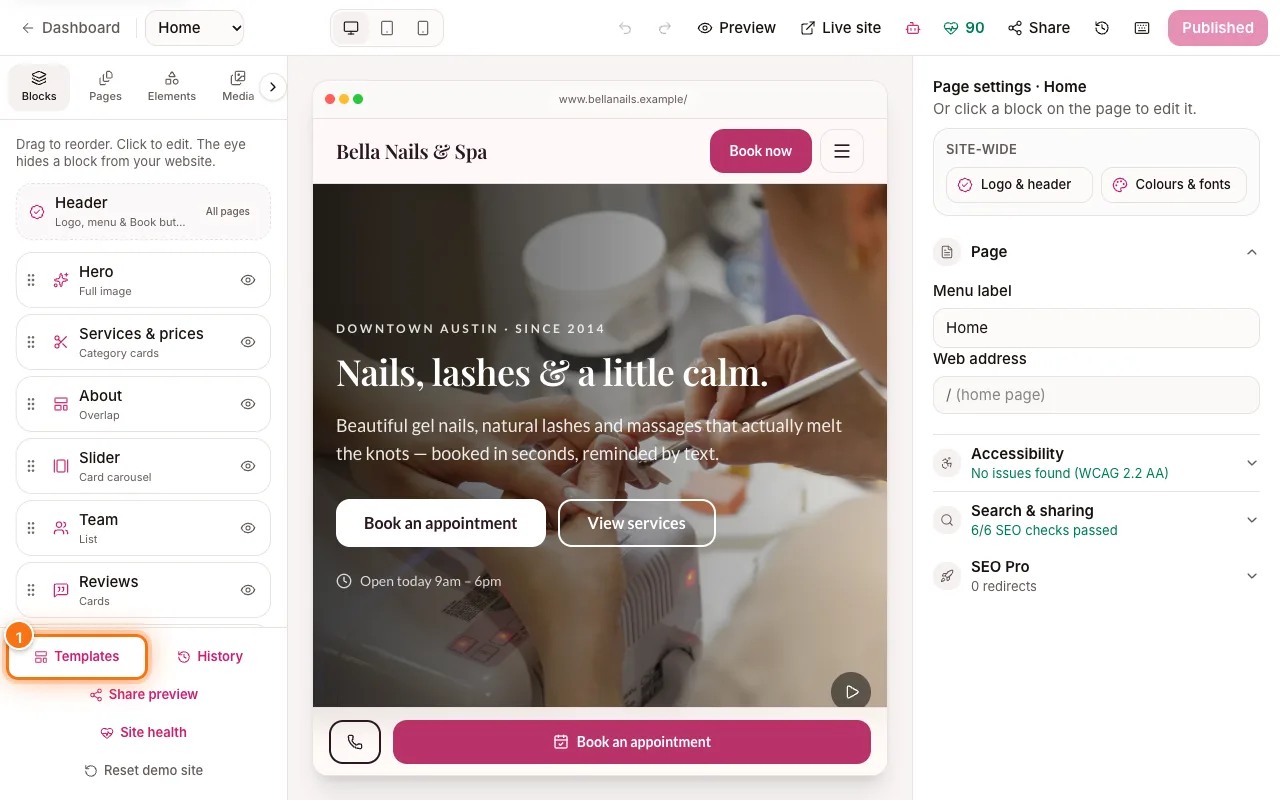
Website editor with the Templates button highlighted (1) at the bottom of the left panel - 3
Pick a design
The Templates window has three tabs: “All templates”, “My templates” (designs you saved) and “My collection” (designs you liked with the heart).
Click your trade (1) to filter, then click a design (2) to see it up close.
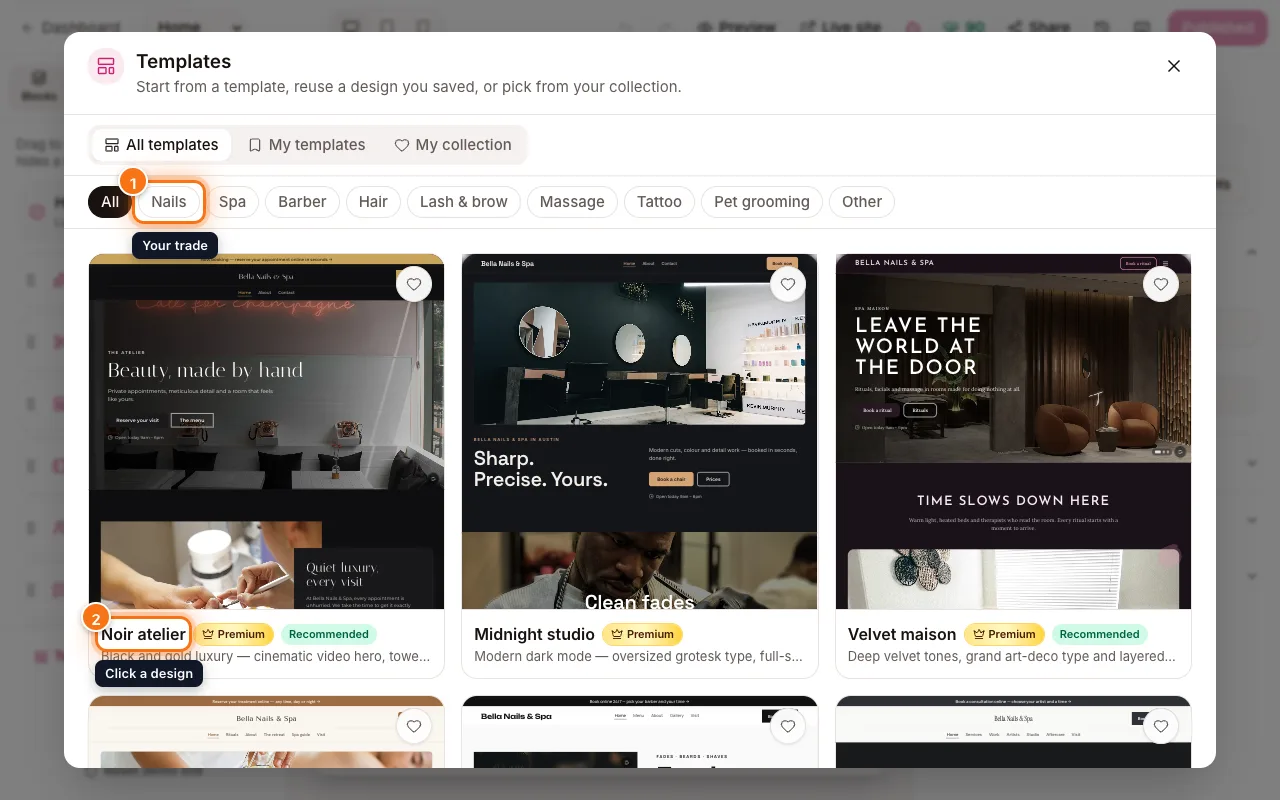
Templates window with the Nails filter (1) and the Noir atelier design (2) highlighted - 4
Use it
Check “What you get” — the pages and sections the design comes with. Click “Use this template” (1) to switch. To see every page first, click “Open full preview” (2).
Switching replaces your pages, theme and header. Your logo, favicon and search settings stay. Your services, prices, team and hours always come from your dashboard, so they show up in the new design straight away.
Tip: Changed your mind? Click “Undo” in the message that appears at the bottom (or press ⌘Z, Ctrl+Z on Windows) right away to undo the switch.
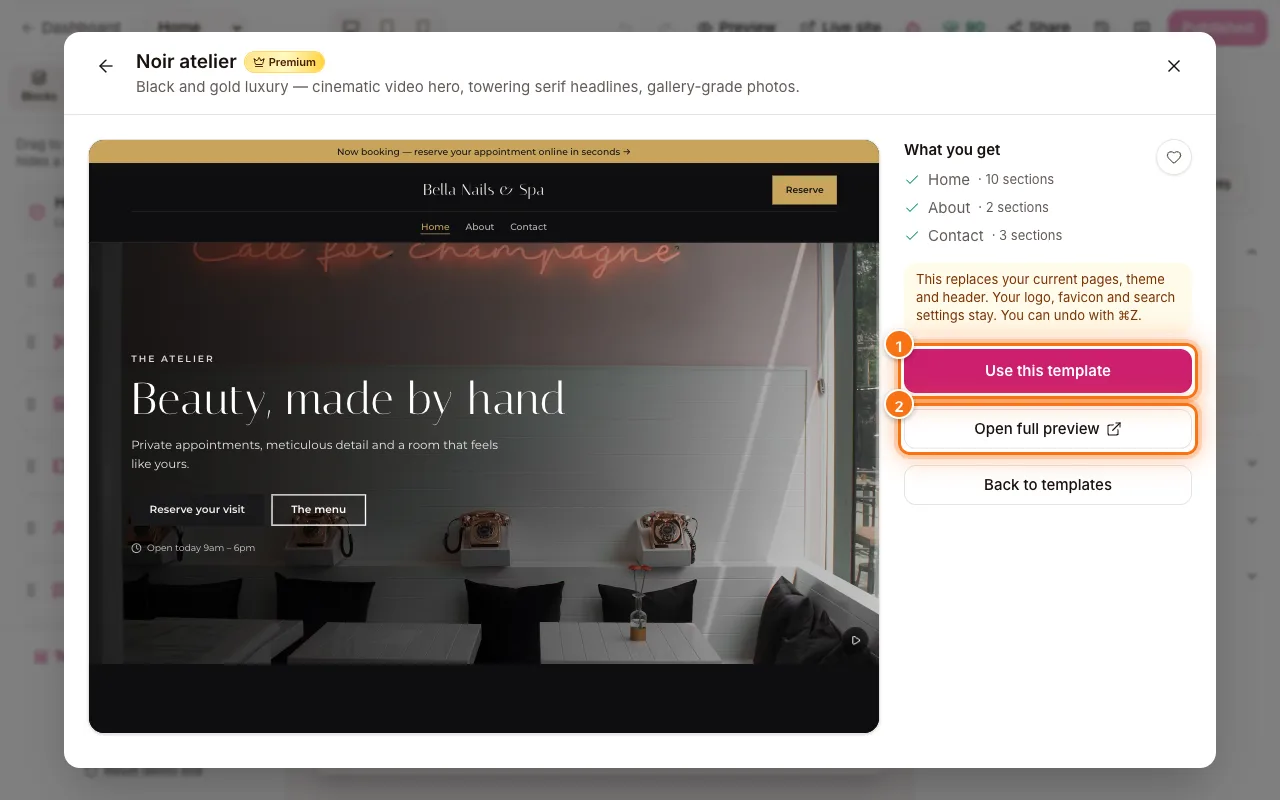
A template’s details with Use this template (1) and Open full preview (2) highlighted - 5
Make it yours, then publish
A template is only a starting point. Change the words and photos, pick your colours, then click “Publish” at the top right. Nothing changes on your live website until you publish.
- Before you switch, open “My templates” and click “Save current design” to keep a copy of the look you have now.