Video walkthrough coming soon
The written steps below cover everything in the meantime.
About 5 min to follow along
When you’re done
- Every booking confirmed by email the moment it’s made
- Reminders that cut no-shows, with a link to change or cancel
- Client replies landing in the inbox you choose
- 1
Open Client emails
In the left menu, click the gear icon at the bottom — “Settings” (1). Hover over the menu if you only see icons; the names slide out.
In the Settings list, under “Clients”, click “Client emails” (2). You’ll see the “Client emails” panel with one switch per email.
Tip: Only owners and admins see Settings → Client emails. Front desk and staff accounts don’t.
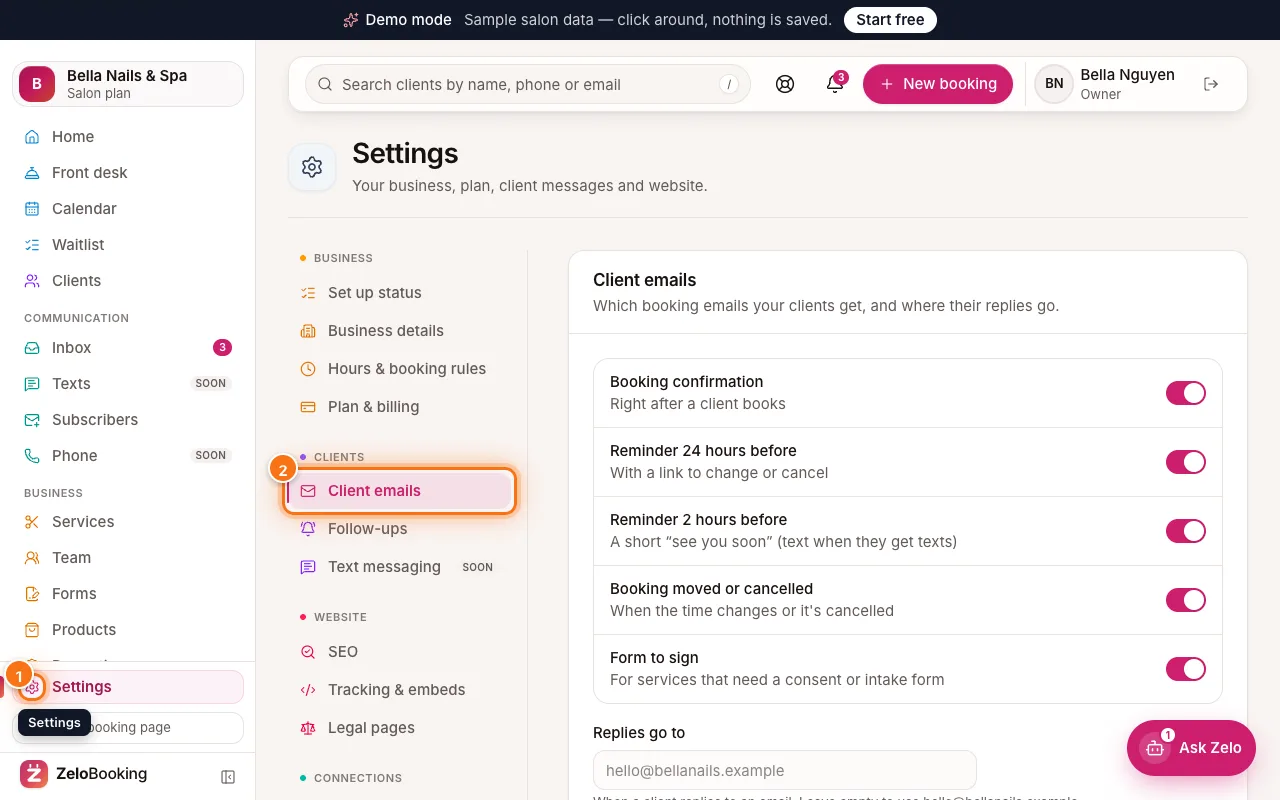
Settings with the Settings icon in the left menu (1) and the Client emails tab (2) highlighted - 2
Choose which emails go out
Each row is one email. A pink switch means it’s on; grey means off. Click a switch to flip it:
- “Booking confirmation” — right after a client books.
- “First reminder” (1) — with a link to change or cancel. Pick when it goes out: 48, 24 or 12 hours before.
- “Second reminder” (2) — a short “see you soon” 2 hours or 1 hour before (sent as a text instead when the client gets texts). Switch it off for no second reminder.
- “Booking moved or cancelled” — when the time changes or the booking is cancelled.
- “Form to sign” — for services that need a consent or intake form.
- “Form reminders” — when a form is still unsigned: a new link and PIN 24 hours after the first, and one about 2 hours before the appointment (at most 2).
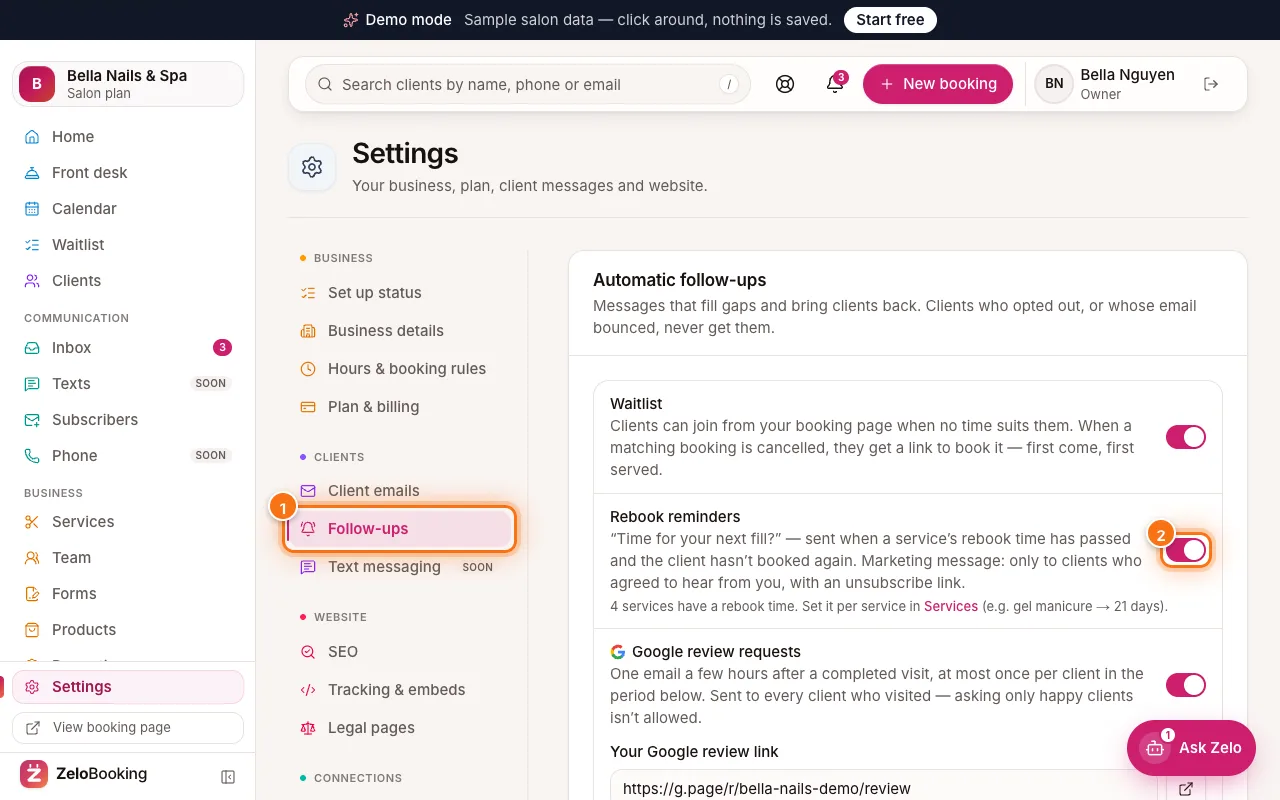
Tip: Keep both reminders on unless you have a reason not to — they’re the easiest way to cut no-shows.
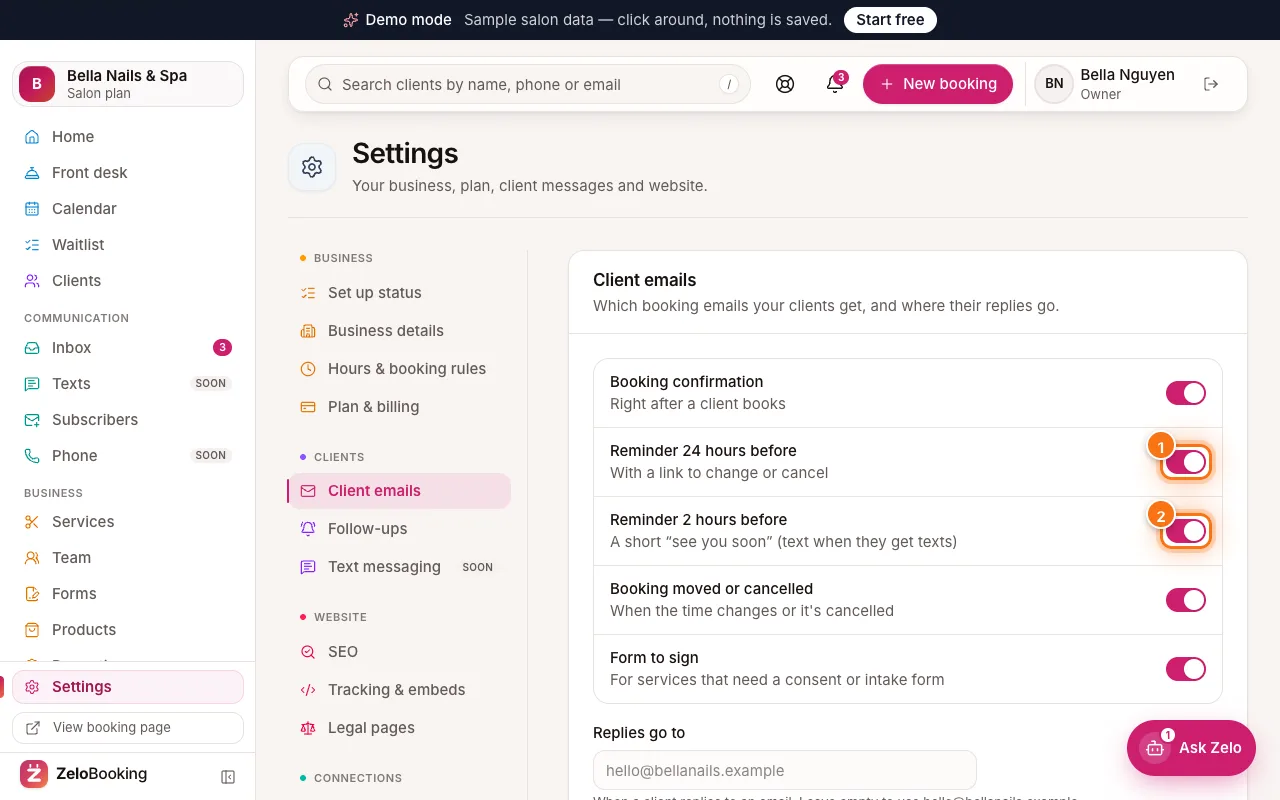
Client emails: the switches for First reminder (1) and Second reminder (2) highlighted - 3
Choose where replies go
When a client hits Reply on any email from you — bookings, forms, follow-ups, desk messages and thank-yous — it goes to the address under “Replies go to” (1). Type the email you check most — for example the front desk inbox.
Leave it empty to use the business email from Settings → Business details (it’s shown in grey inside the box).
Click “Save email settings” (2) at the bottom of the panel. You’ll see “Saved.” next to the button.
Tip: Switch changes don’t count until you click “Save email settings”.
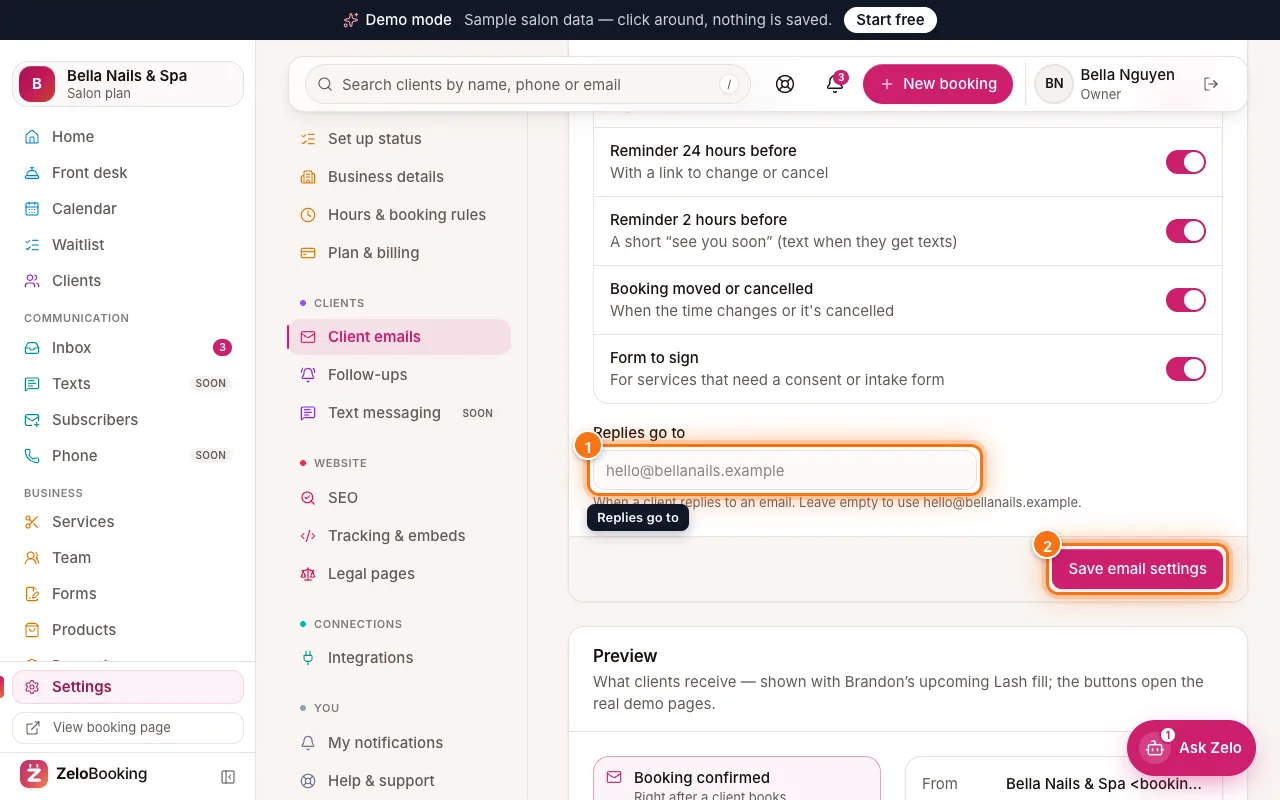
Client emails: the Replies go to box (1) and the Save email settings button (2) highlighted - 4
Preview what clients receive
Scroll down to “Preview”. On the left is the list of emails: Booking confirmed, Booking moved, Booking cancelled, Reminder, Starting soon, Form to sign and Form reminder. Click one — for example “Reminder” (1).
On the right you see the sender, subject and the email itself, filled in with a real sample booking. Click “Plain text” (2) to see the text-only version, or “Phone” (3) to see it at phone width.
The buttons inside the email (like “Manage booking”) open real pages, so you can try what your client sees.
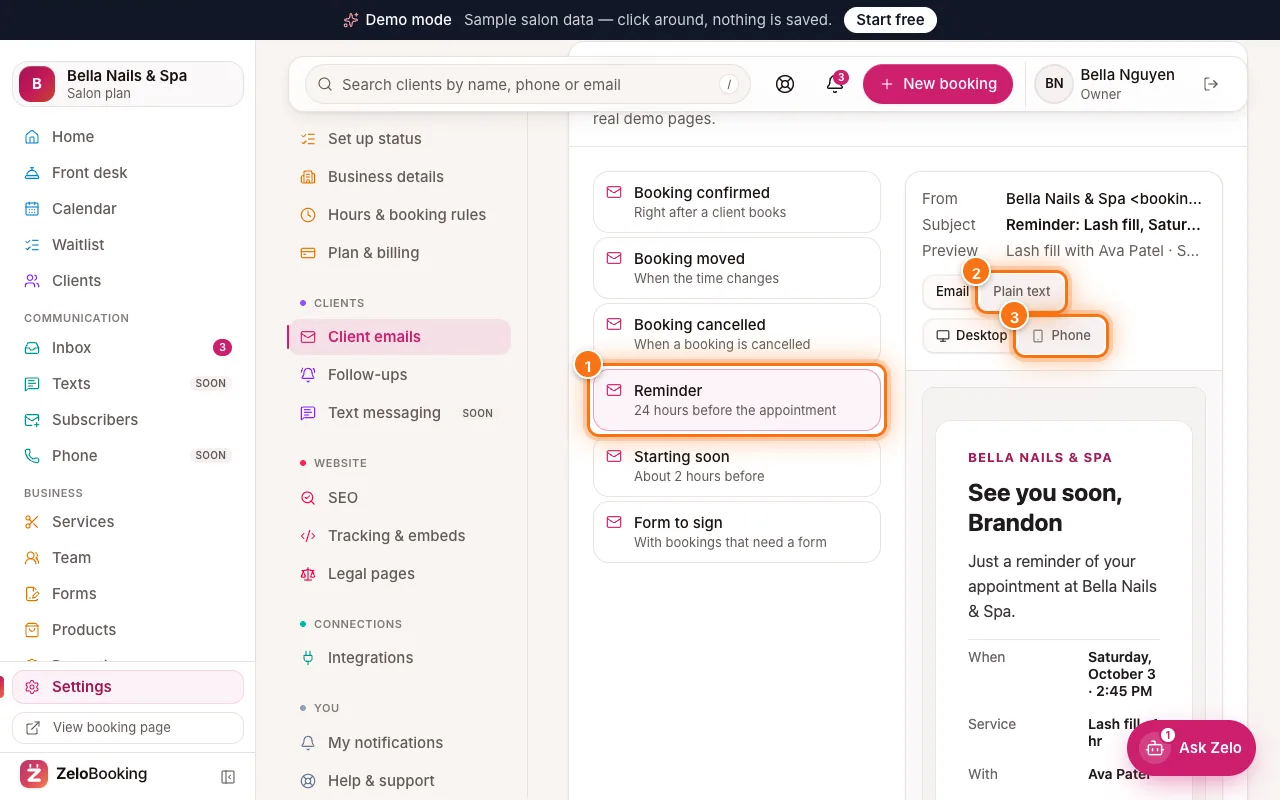
Email preview with the Reminder email chosen (1) and the Plain text (2) and Phone (3) buttons highlighted - 5
Text reminders (coming soon)
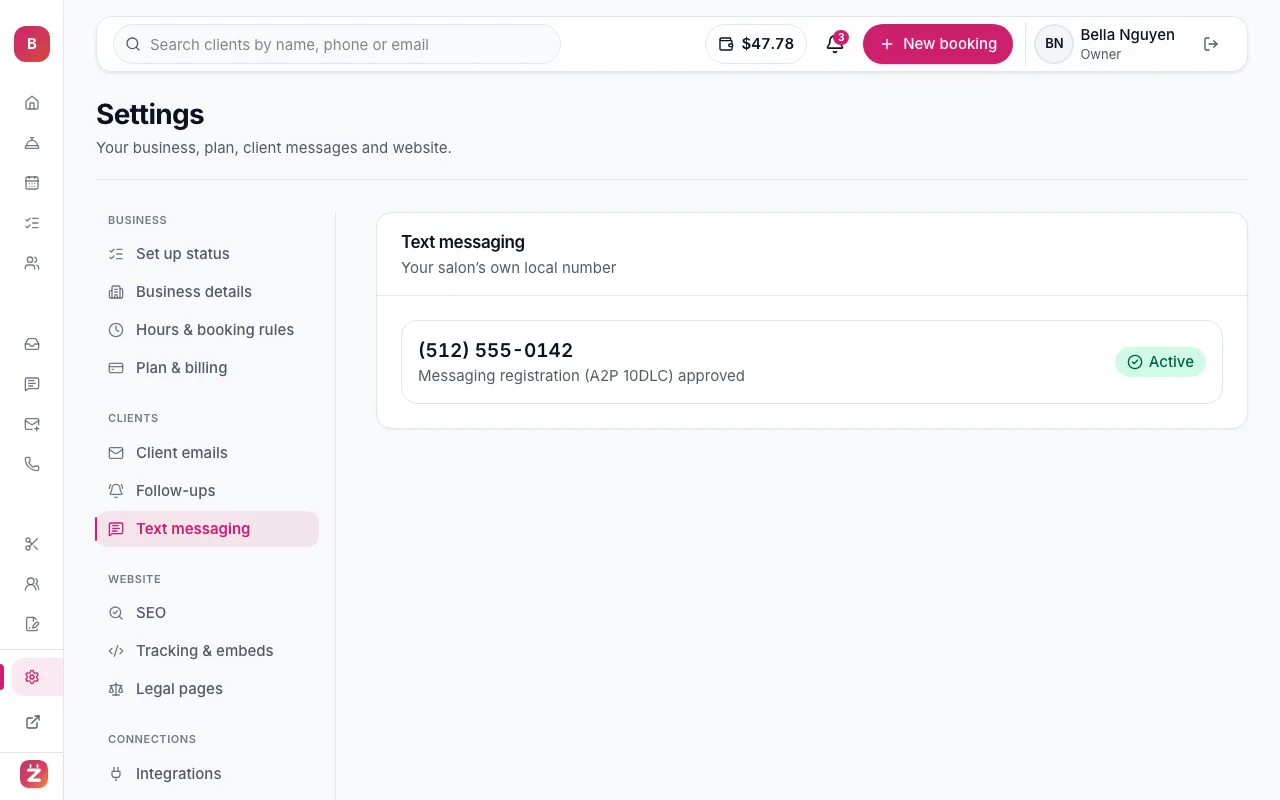
Texting is coming soon. Once it’s on, clients who choose texts when they book also get their confirmation and reminders by text from your own number — and can reply C to confirm. Until then, everything goes by email. See “Turn on text messaging”.