Video walkthrough coming soon
The written steps below cover everything in the meantime.
About 5 min to follow along
When you’re done
- Clients check themselves in with their mobile number
- Walk-ins join the list without asking the desk
- Unsigned forms completed on arrival
- 1
Set your own kiosk PIN
Everyone who may close the kiosk needs their own PIN. Click your name or photo at the top right to open “Your profile”. In “Kiosk PIN”, type 4 digits under “Choose a PIN” and click “Save PIN”.
Easy ones like 1234 or 0000 aren’t allowed. Don’t share it — the kiosk records who unlocked it.
The kiosk won’t start until at least one person (front desk or up) has a kiosk PIN — the tablet shows “Set a kiosk PIN first” instead, so nobody gets locked out.
- 2
Open the kiosk on the tablet
On the tablet, sign in to ZeloBooking, open “Front desk” and click “Kiosk” (1).
The first time, the tablet must be paired: give it a “Tablet name” and click “Pair and start kiosk”. Only owners and admins can pair a tablet; you can unpair it later under Team → Kiosk tablets.
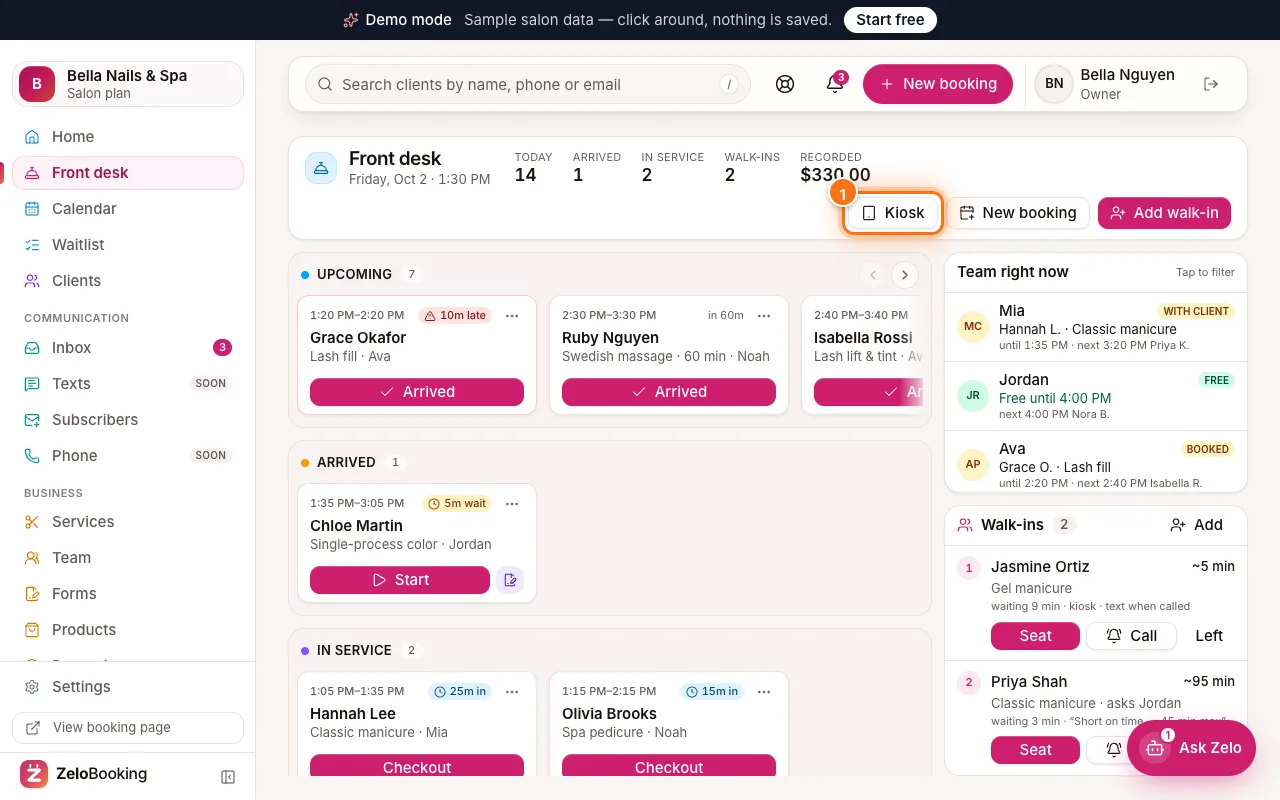
Front desk with the Kiosk button highlighted (1) - 3
What clients see
The welcome screen asks “What brings you in today?”:
- “I have an appointment” (1) — check in.
- “Walk in” (2) — join the walk-in list; it shows how many are waiting.
- “Book a future visit” (3) — opens your booking page.
Below, the walk-in list shows first names and last initials only — never other clients’ details.
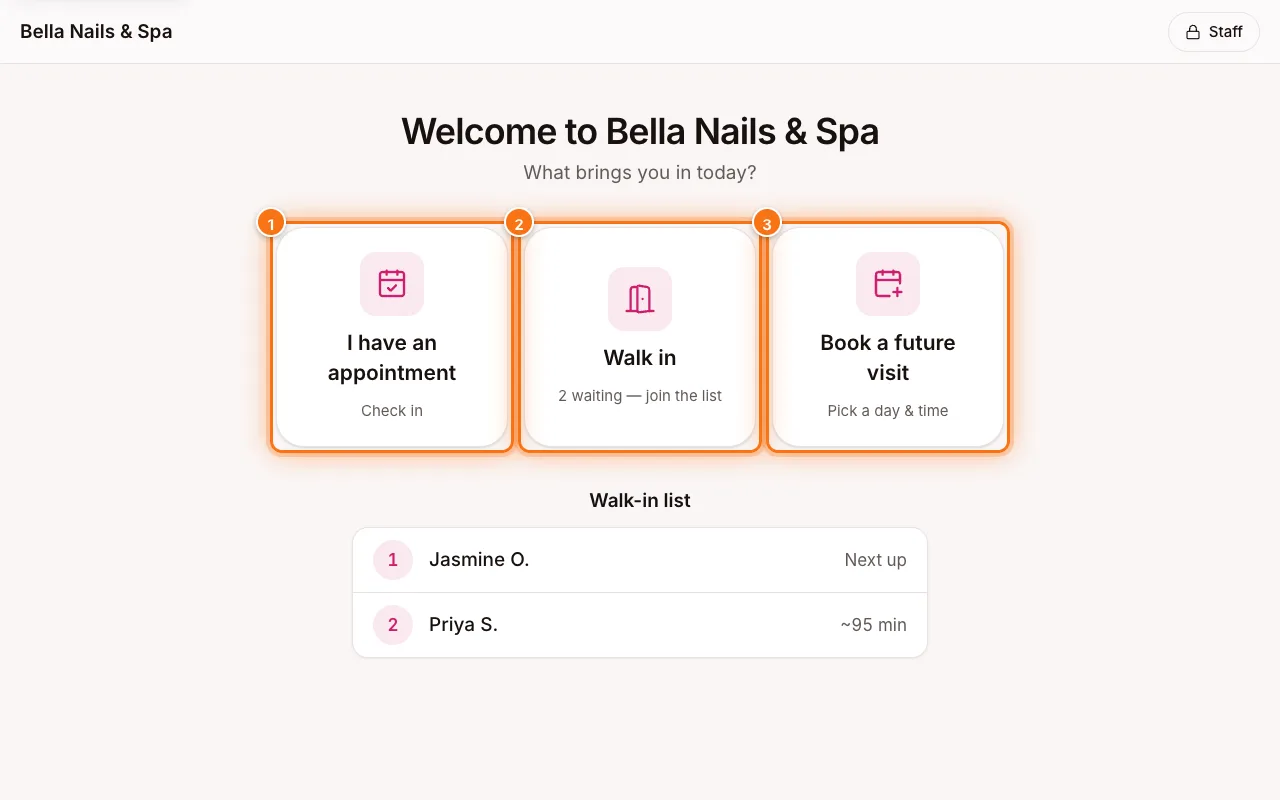
Kiosk welcome screen with I have an appointment (1), Walk in (2) and Book a future visit (3) highlighted - 4
Checking in
After “I have an appointment”, clients type the mobile number they booked with and tap “Continue” (1). They see today’s appointment and tap “Check in”. On your front desk board they move to Checked in.
If they still have a form to sign, the kiosk shows it right after check-in.
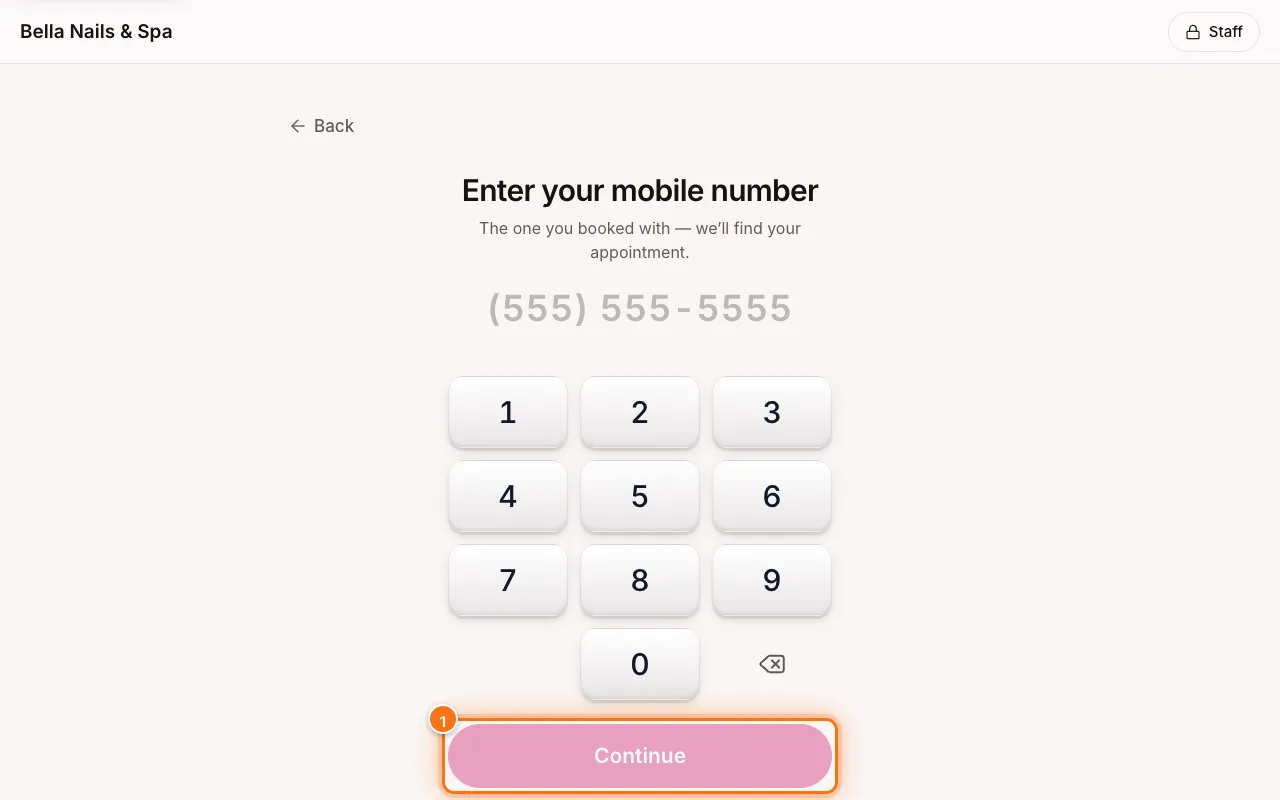
Kiosk number pad asking for the client’s mobile number, with Continue highlighted (1) - 5
Walk-ins on the kiosk
After “Walk in”, clients choose what they’d like and who (or anyone), then enter their first name and number and tap “Join the list”. They appear in the Walk-ins panel on your front desk.
- 6
Leave kiosk mode
Tap “Staff” (1) in the top right corner and enter your own kiosk PIN. If nobody touches the screen for a while, the kiosk asks “Still there?” and then goes back to the welcome screen.
Tip: Mount the tablet on a stand near the door and turn on Guided Access (iPad) or screen pinning (Android) so clients stay in the kiosk.
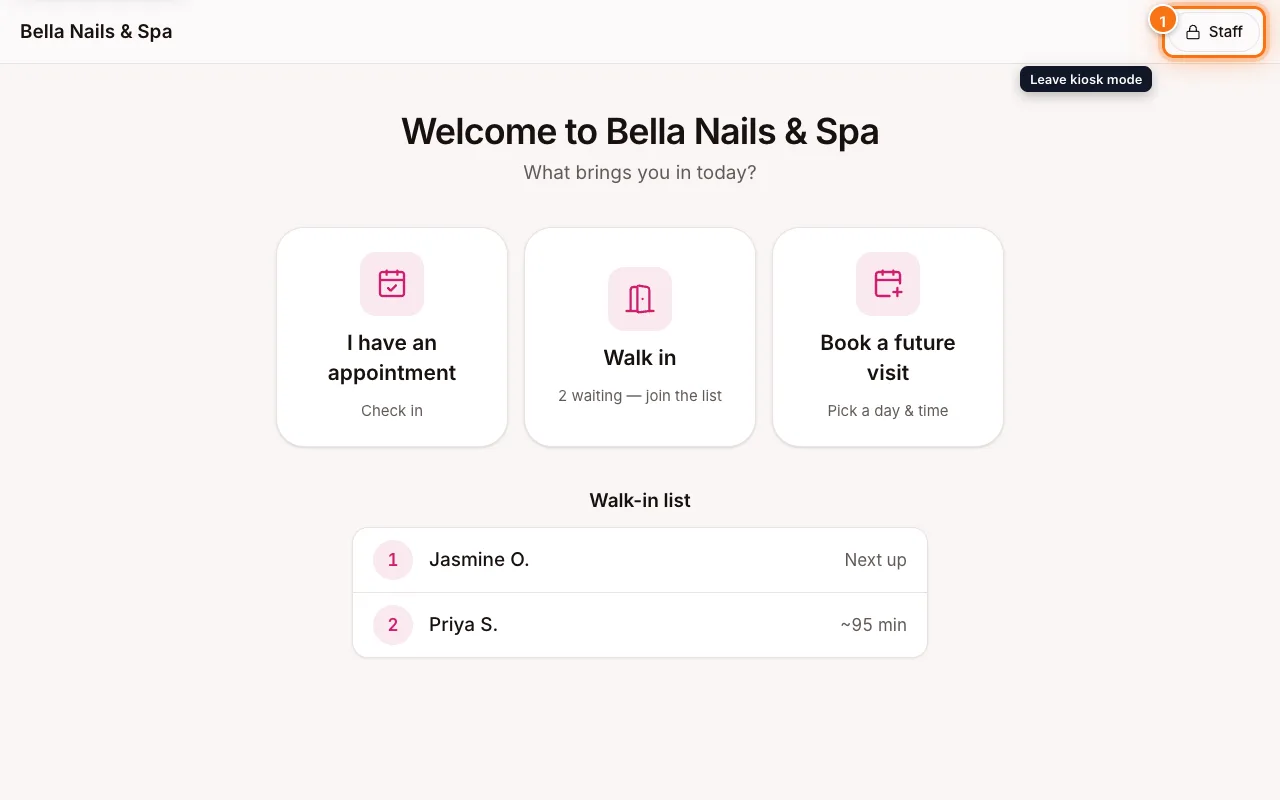
Kiosk welcome screen with the Staff button in the top right corner highlighted (1)