Video walkthrough coming soon
The written steps below cover everything in the meantime.
About 8 min to follow along
When you’re done
- A custom section — banner, offer, poster — made your way
- Extra text, icons or buttons placed exactly where you want
- Designs that still look right on phones
- 1
Add a blank section
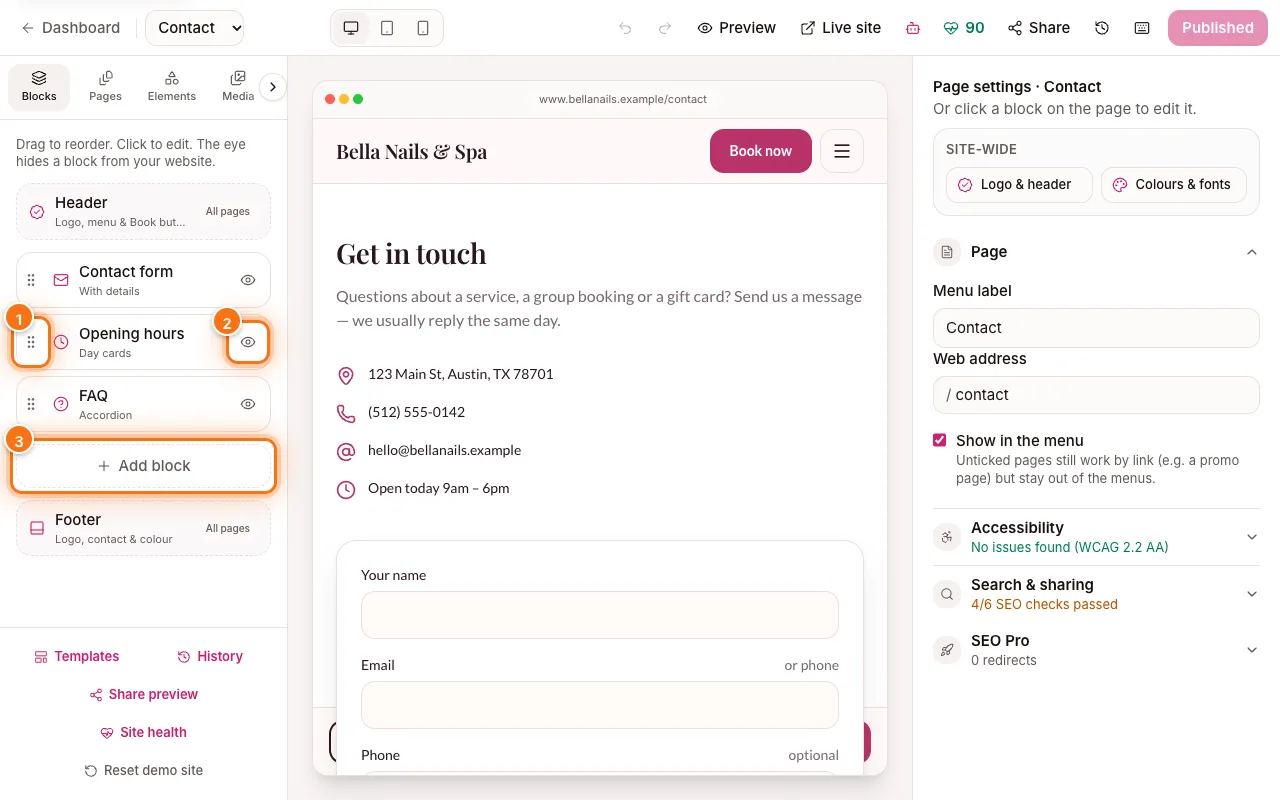
In the Blocks tab, click “Add block”. The first card is “Blank section” (1) — an empty canvas. Click it.
It adds a “Design (free-form)” block to your page and opens it on the right.
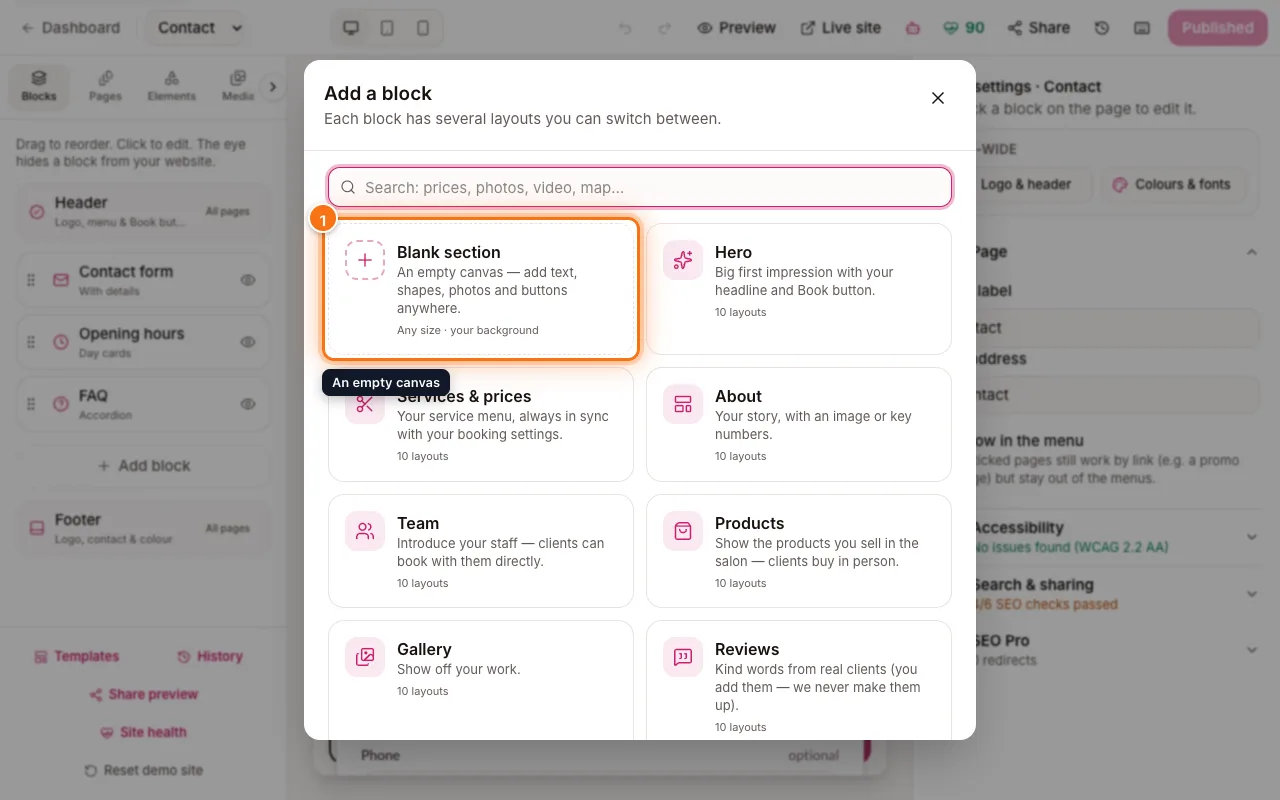
Add a block window with the Blank section card highlighted (1) - 2
Add elements to the canvas
In the right panel, the Content tab has its own small tabs:
- “Add” (1) — text styles, shapes, lines, icons, buttons, social icons and photos. Click one to put it on the canvas.
- “Layers” (2) — every element in the design, to select, hide or lock.
- “Background” (3) — theme, colour, gradient or photo.
- “Designs” — ready-made designs to start from.
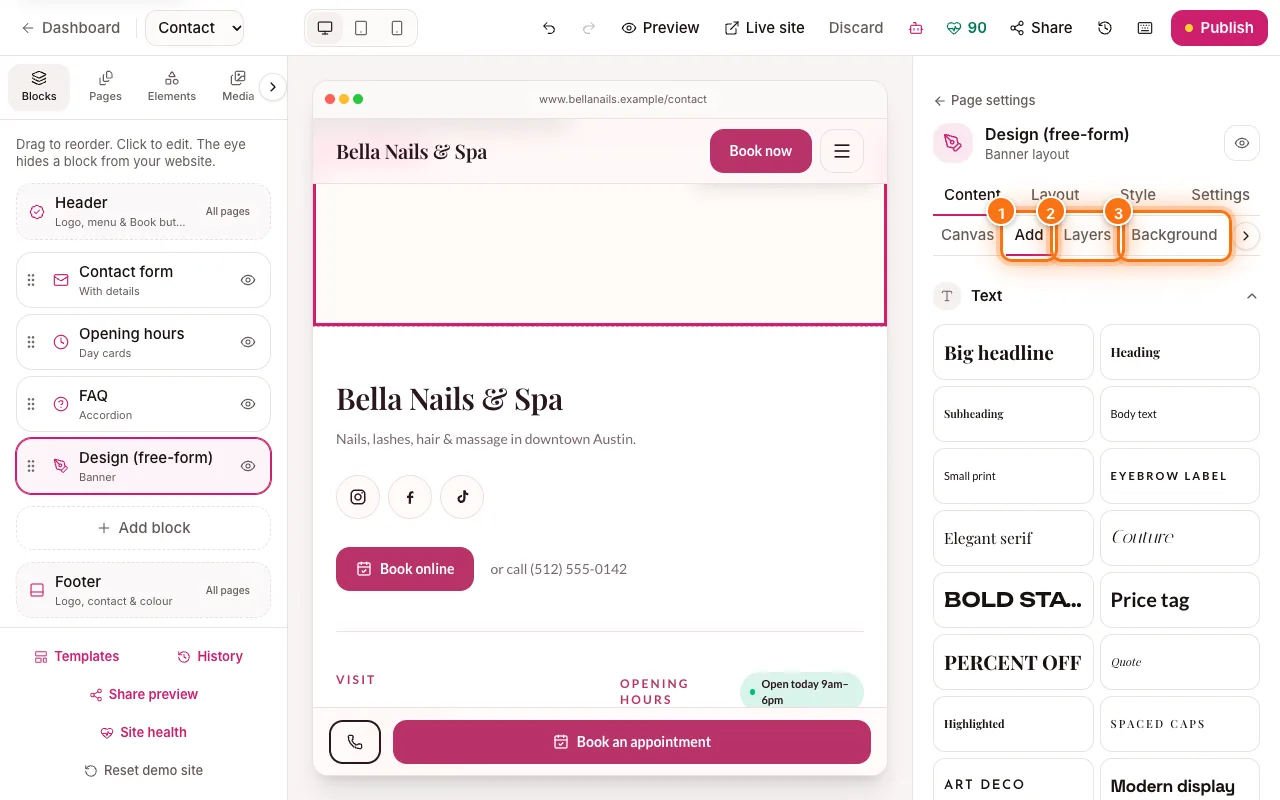
Design (free-form) block settings with the Add (1), Layers (2) and Background (3) tabs highlighted - 3
Move, resize and type
Click an element on the canvas to select it (2). Drag it to move it, pull the corner handles to resize it, and double-click text to type.
The “Edit” tab (1) shows everything for the selected element: the text, font, size, colour, link for buttons, and “Position & size” and “Arrange” (To front, To back, Lock, Hide).
Tip: Arrow keys nudge the selected element; hold Shift for bigger steps. ⌫ deletes it.
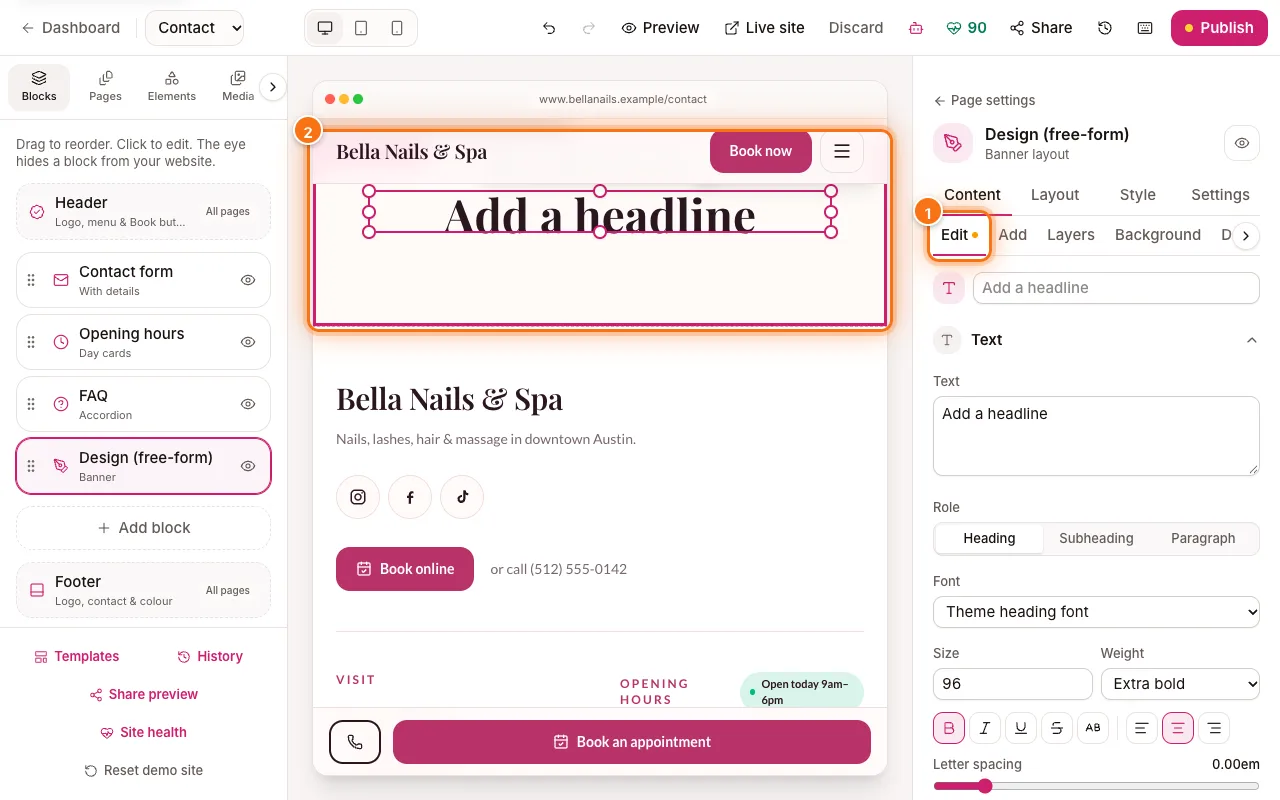
A headline element selected on the design (2) with its Edit tab (1) highlighted - 4
Decide how it looks on phones
Click an empty spot on the canvas to see the “Canvas” settings. Under “On phones”, choose “Stack neatly” (elements line up one under another) or “Shrink design” (the whole design scales down).
Then click the phone button at the top of the editor to check it.
- 5
Add elements on top of any section
You don’t need a blank section to add a badge or a button. Click any section (for example your Hero), then click “Add elements to this section” (1) at the top of the right panel.
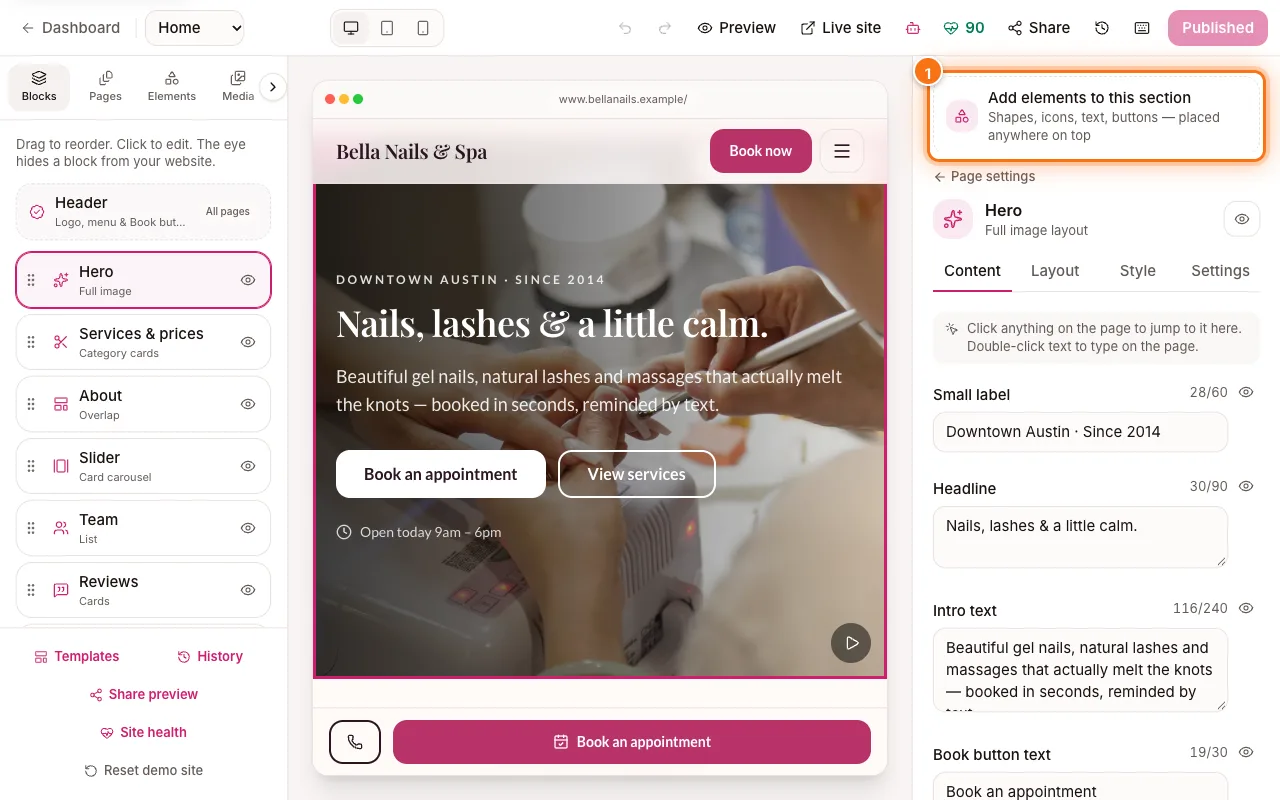
Hero section selected with Add elements to this section highlighted (1) - 6
Pick what to place
Click “Add” (1) and choose from Text (2), Shapes & lines, Icons, Buttons, Social icons or Photos. The element appears on the section; drag it where you want it.
“Layers” lists what you’ve added. Click “← Hero settings” (or the name of your section) to go back to the section’s normal settings. A section can hold up to 20 elements.
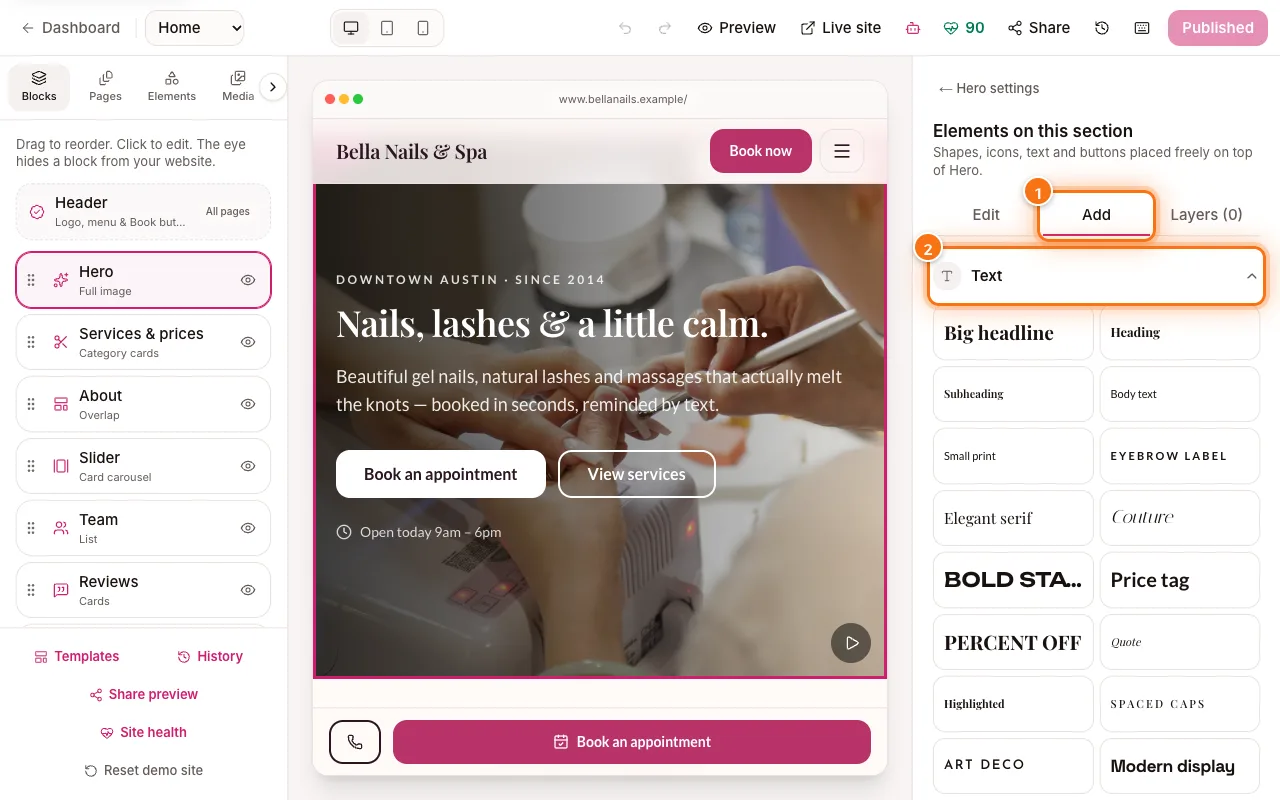
Elements on this section panel with the Add tab (1) and Text (2) highlighted - 7
Or drag from the Elements tab
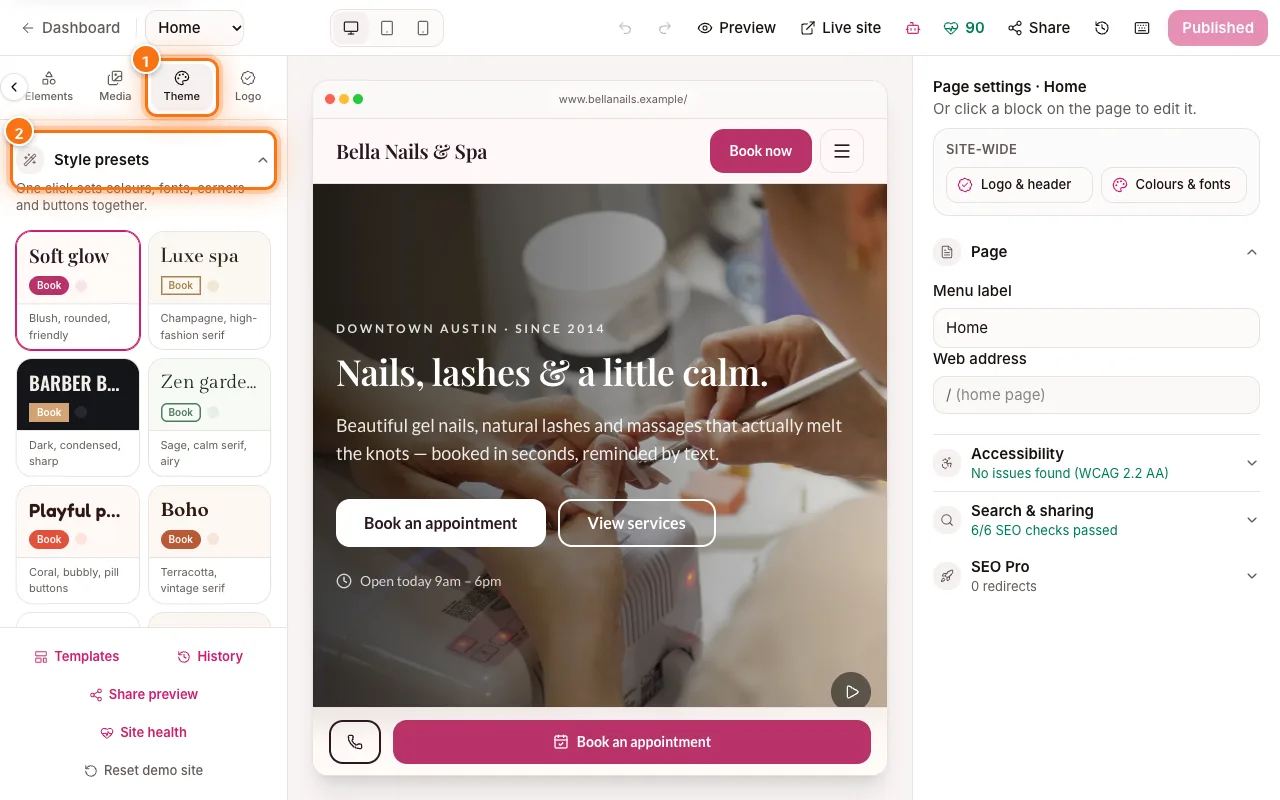
The “Elements” tab (1) in the left panel has the same pieces, starting with “Text” (2). Drag one onto any section on the page — or select a section first and click an element to add it there.
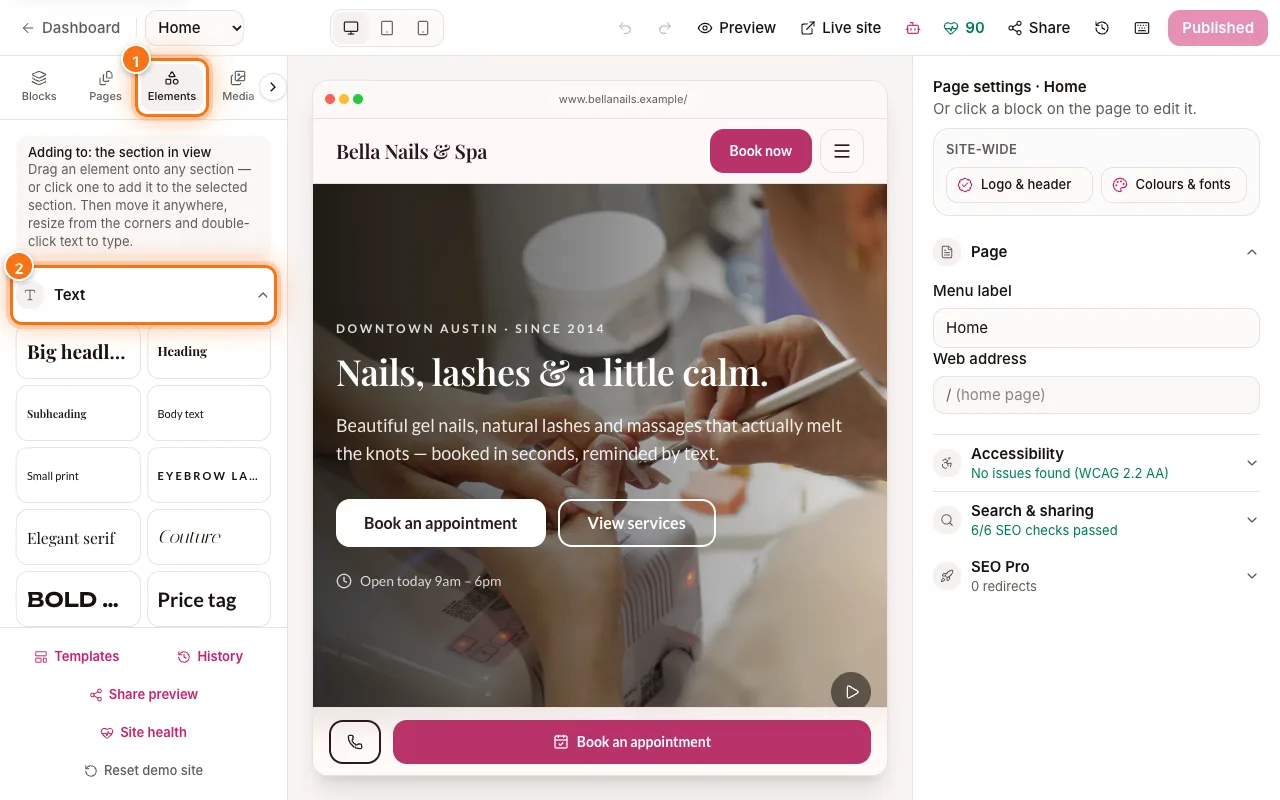
Elements tab (1) in the left panel with the Text elements (2) highlighted