Video walkthrough coming soon
The written steps below cover everything in the meantime.
About 8 min to follow along
When you’re done
- A ZeloBooking account with your business name, booking link and time zone
- Starter services, a team, opening hours, forms and a website — all ready to edit
- A setup checklist that shows exactly what’s left
- 1
Create your login
Go to zelobooking.com and click “Start free” (top right). On “Create your account”, fill in “Your name”, “Work email” and “Password” (at least 10 characters, with letters and a number), then click “Create account”. Or click “Continue with Google” to use your Google account instead. (Already have an account? “Log in” → “Business login”. “My bookings” is the sign-in for clients — they never need a business account.)
We email you a 6-digit code to confirm your email. Type it under “6-digit code” and click “Verify” — or open the link in that email instead. No email after a few minutes? Check spam, then click “Resend code”.
No card is needed. New businesses get the Salon plan free for 14 days, so you can try every Salon feature before you decide.
Tip: Use an email you check every day — booking alerts, support replies and password resets go there.
- 2
Pick your business type
Once your email is confirmed, the “Welcome, …! Let’s get you booking.” screen opens with two quick questions. Under “What kind of business do you run?”, click the card closest to your trade (1) — Nail salon, Spa, Barber, Hair salon, Lash & brow, Massage, Tattoo studio, Pet grooming or Other. Each card shows how many starter services come with it.
This only decides what we preload: typical services and prices, opening hours, consent forms and a website for your trade. You can change everything later.
Tip: Run more than one trade (for example nails and lashes)? Pick the main one — you can add the other services in minutes.
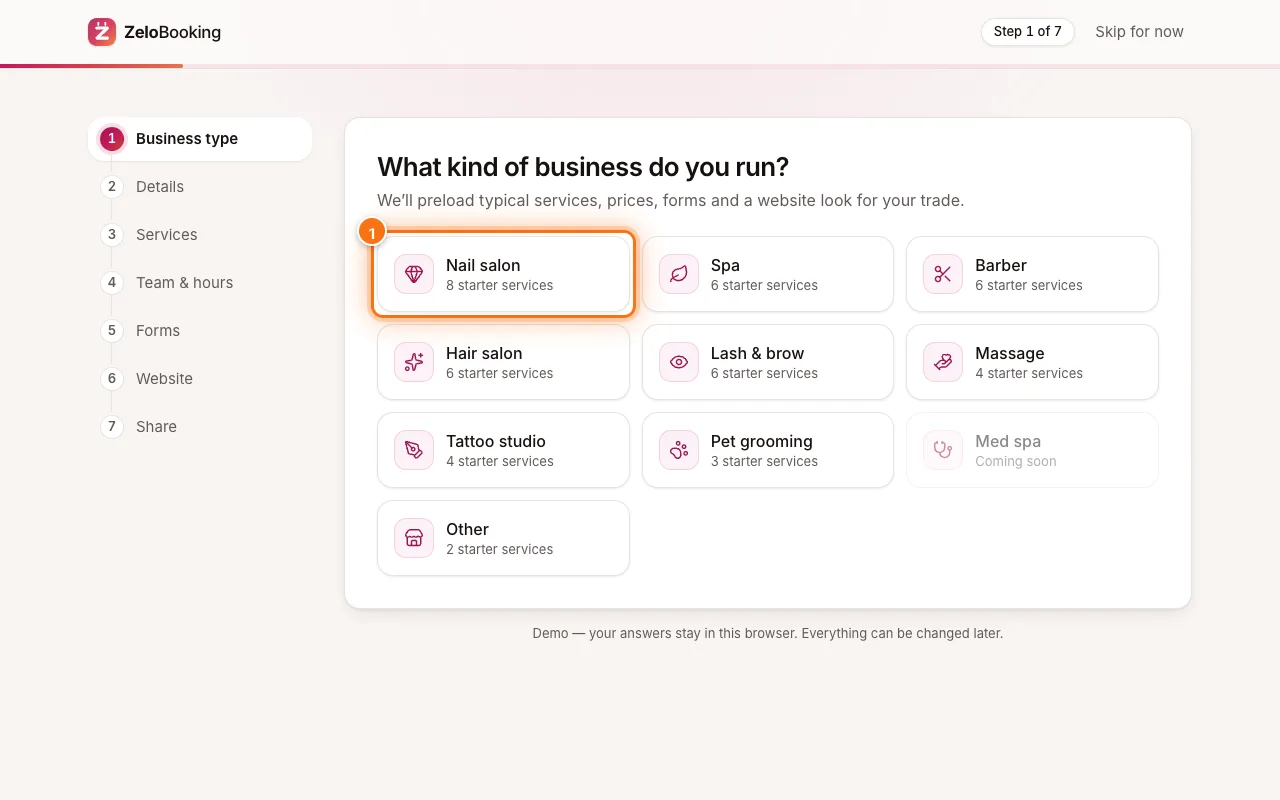
Setup wizard step 1: business type cards with Nail salon highlighted (1) - 3
Name your business and pick your booking link
Type your “Business name” (1). “Your booking link” (2) fills in from the name — the short web address clients use to book. Change it if you like (letters, numbers and dashes).
“Timezone” (3) is set from your computer’s clock (for example Boise shows as Mountain, Indianapolis as Eastern). Check it, then click “Create my business”. Your dashboard opens straight away, with your booking page already live.
Tip: Check the time zone carefully — every booking time, reminder and report uses it. You can change it later in Settings → Business details.
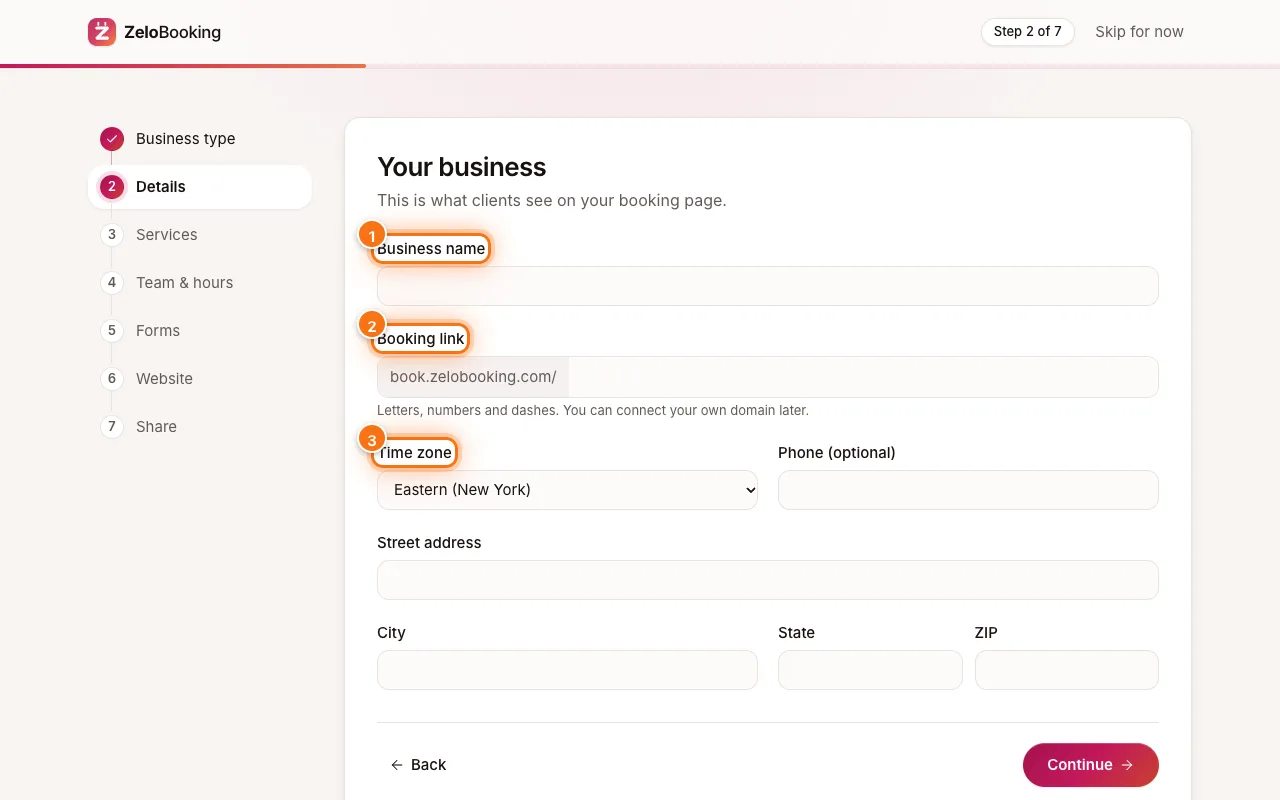
Setup wizard Your business step with Business name (1), Booking link (2) and Time zone (3) highlighted - 4
Finish the setup checklist
Home shows a “Finish setting up” checklist, and Settings → “Set up status” (1) has the same list with a tick next to each finished step:
- Create your business
- Add your address and phone
- Check your services and prices
- Set your team and working hours
- Invite your team (only when someone on your team has an email but no login yet)
- Publish your website
- Share your link and get your first booking
Each open step has a button that takes you to the right screen (“Add details”, “Review services”, “Set hours”, “Invite team”, “Open website”, “Get the link”) and — except the address step — a “Mark as done” button for when it’s already right or you handle it another way. “Your links” on the right has “Copy booking link” (2).
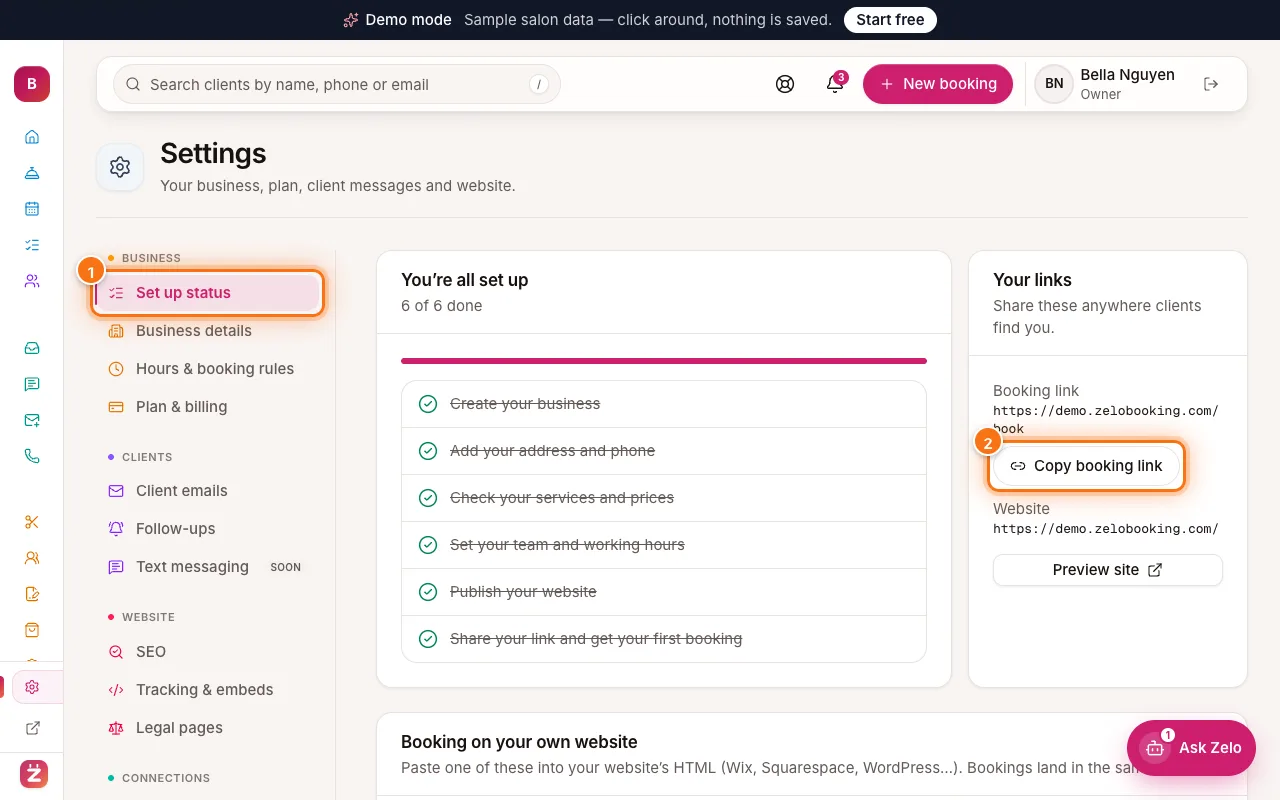
Settings → Set up status: six finished steps, with Set up status (1) and Copy booking link (2) highlighted - 5
Check your services, team and hours
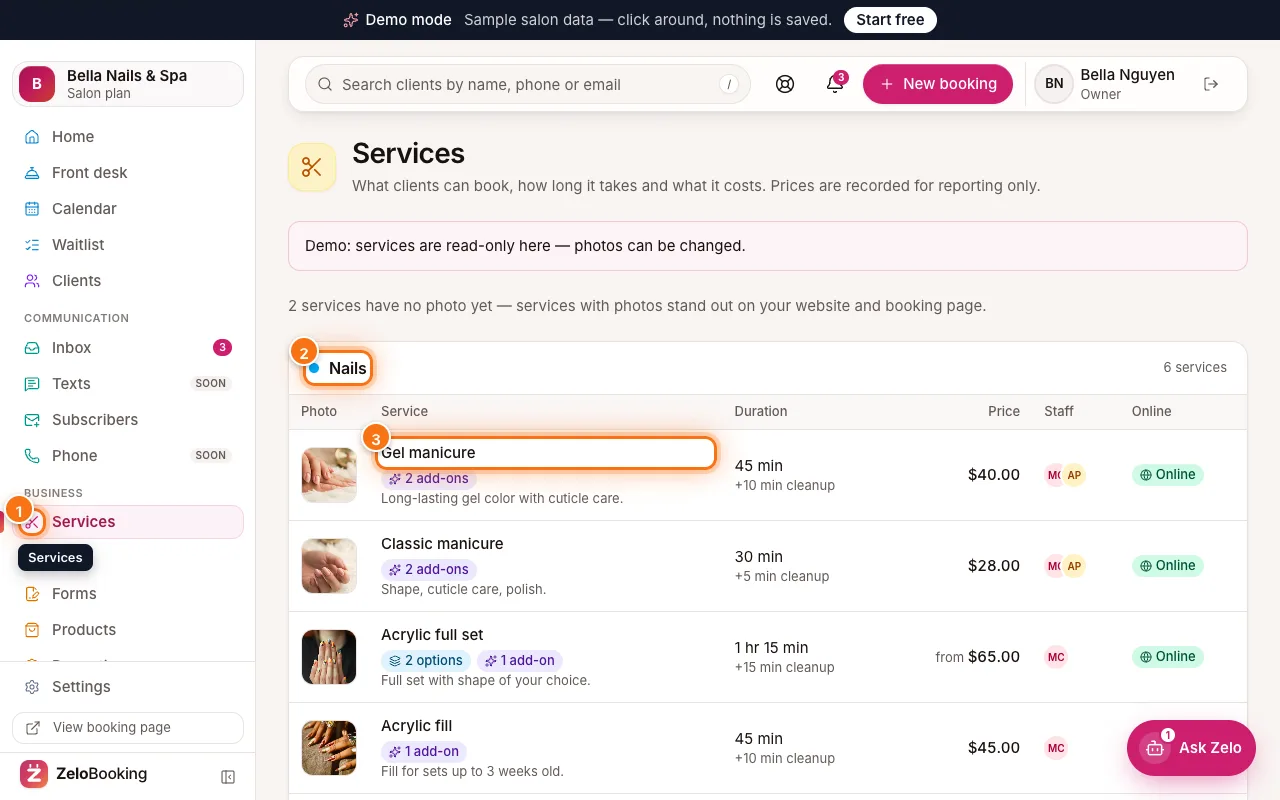
Click “Review services”: change a price, a length or a name, archive what you don’t offer, or add a service. The step ticks as soon as you save a change — or click “Mark as done” if the preloaded menu is right.
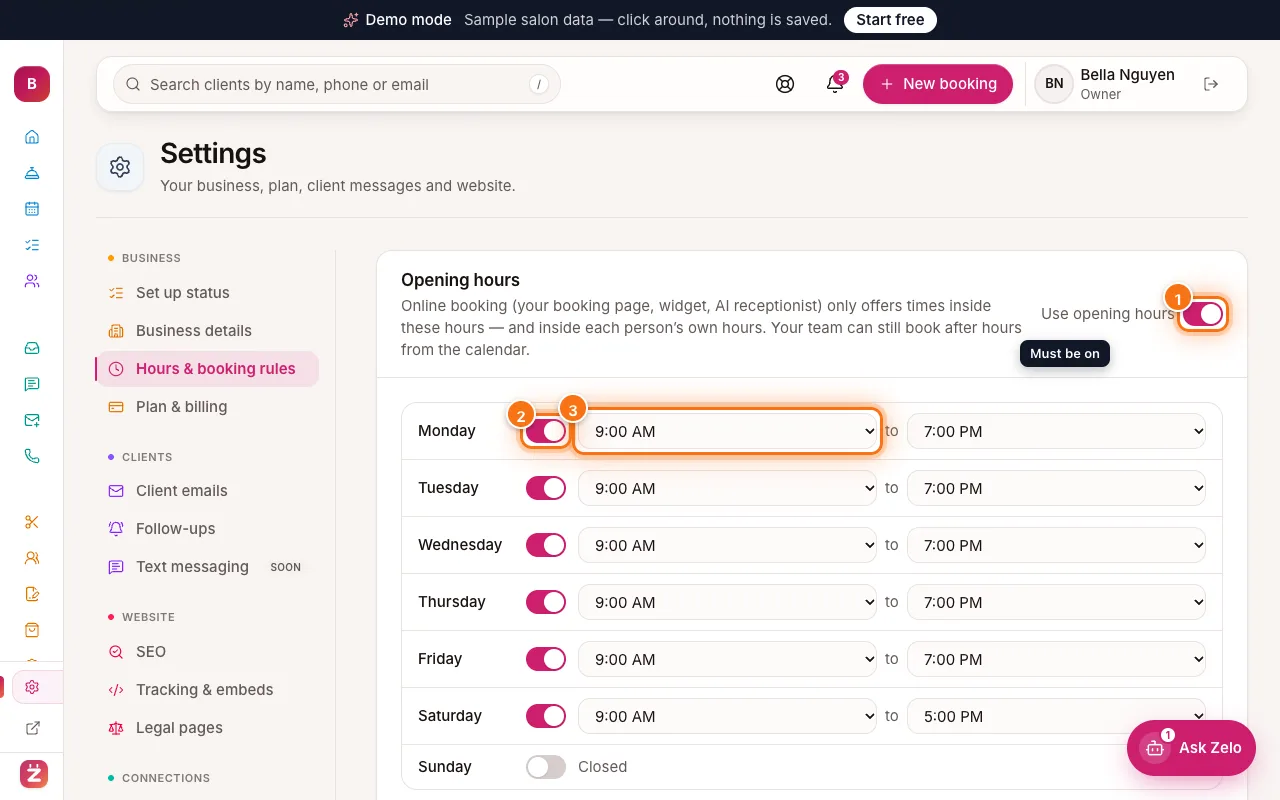
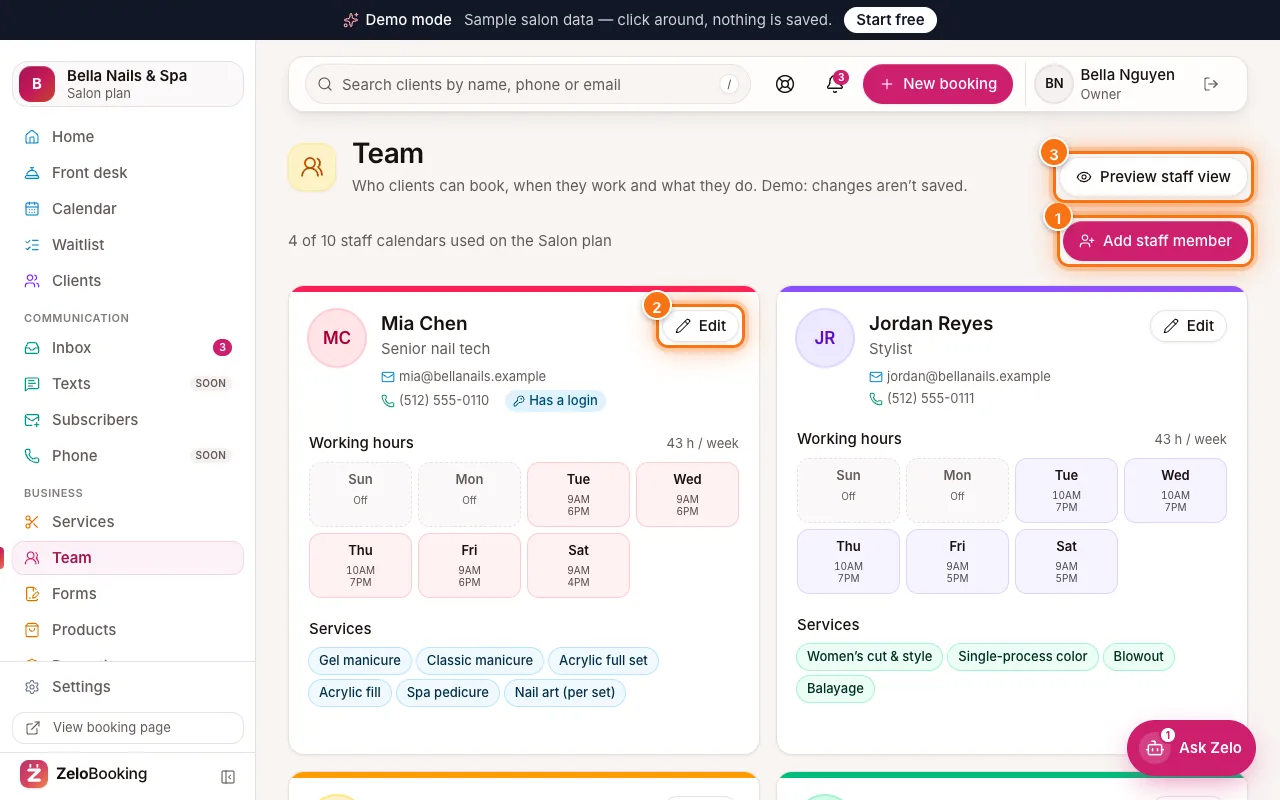
Click “Set hours” to open Team: add the people clients can book and set their working hours. Clients can only book times when someone is working. This step ticks the same way.
- 6
Invite your team
Gave someone on your team an email? “Invite your team” shows on the checklist. Click “Invite team”: on Team → “Team access”, everyone with an email but no login is listed under “Not invited yet”. Click “Invite …” next to each person — they get an email to create their login, as Staff, linked to their own profile. The step ticks once everyone has an invite or a login.
Tip: Not everyone needs a login. Click “Mark as done” on the checklist if the rest of your team won’t sign in.
- 7
Publish your website and share your link
Click “Open website”, look through the site we built for your trade and press “Publish” in the editor. Already have your own website? Click “Mark as done” instead.
Click “Get the link”: under “Your links”, “Copy booking link” copies the address for your Instagram bio, Google Business Profile and texts. “Booking on your own website” has two codes (a floating “Book now” button, or a booking form inside a page) — click “Copy code” and paste it into Wix, Squarespace or WordPress. Copying the link or a code ticks the last step. Website → “Share & book” has the same link and code, plus a QR code to print.
- 8
Hide or bring back the setup bar
Until every step is ticked, a “Finish setting up” bar shows at the top of the other dashboard pages — click “Continue” to come back to Set up status. Click “Hide” on the bar to hide it for your own login (other owners and admins still see it). To bring it back, open Settings → “Set up status” and click “Show the setup bar again”.
- 9
Double-check your business details
Click “Business details” (1) in the Settings menu. Check “Business name”, “Phone”, “Public email”, “Timezone” (2), “Street address”, “City”, “State” and “ZIP code” — these appear on your booking page, website, emails and Google. Click “Save details” (3).
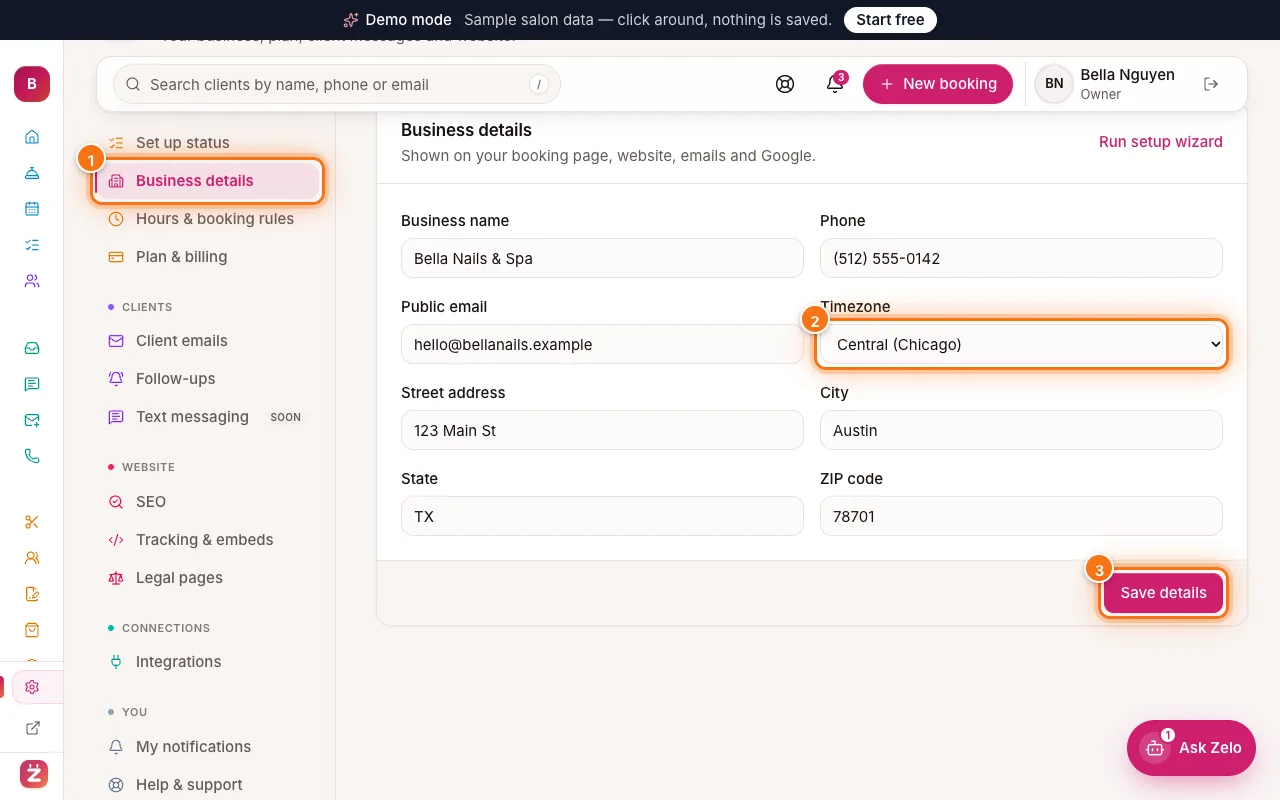
Settings → Business details with the menu item (1), Timezone (2) and Save details (3) highlighted