Video walkthrough coming soon
The written steps below cover everything in the meantime.
About 6 min to follow along
When you’re done
- Your ads and analytics measuring website visits
- A cookie banner that asks visitors first
- Chat, reviews or accessibility widgets on your site (Pro)
- 1
Add your tracking IDs
Go to Settings → Tracking & embeds. Under “Tracking & cookie banner”, paste:
- “Google Analytics 4 — measurement ID” (1) — starts with G-. Find it in GA4: Admin → Data streams → your website.
- “Meta (Facebook) Pixel ID” (2) — a long number. Find it in Meta Events Manager → Data sources.
Click “Save tracking” (3).
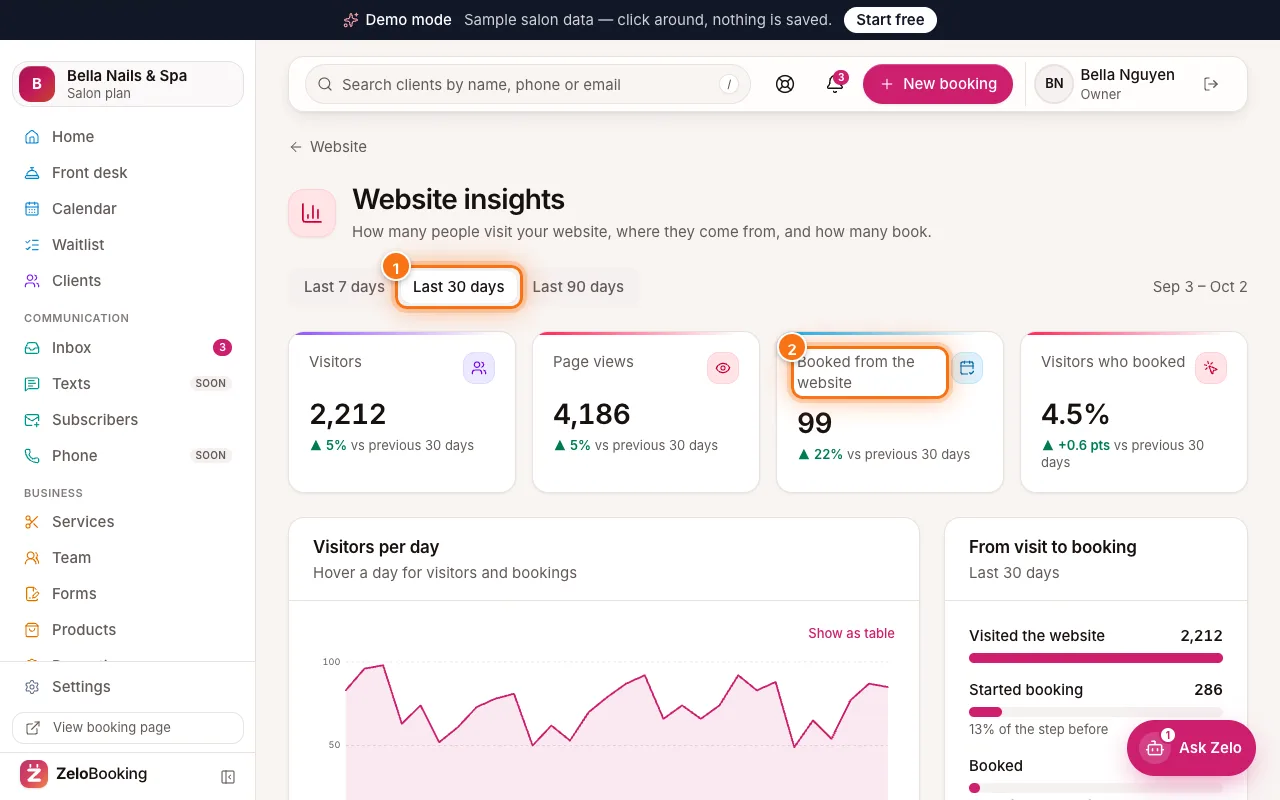
Tip: You don’t need either one to see your visitors — Insights already counts them without cookies.
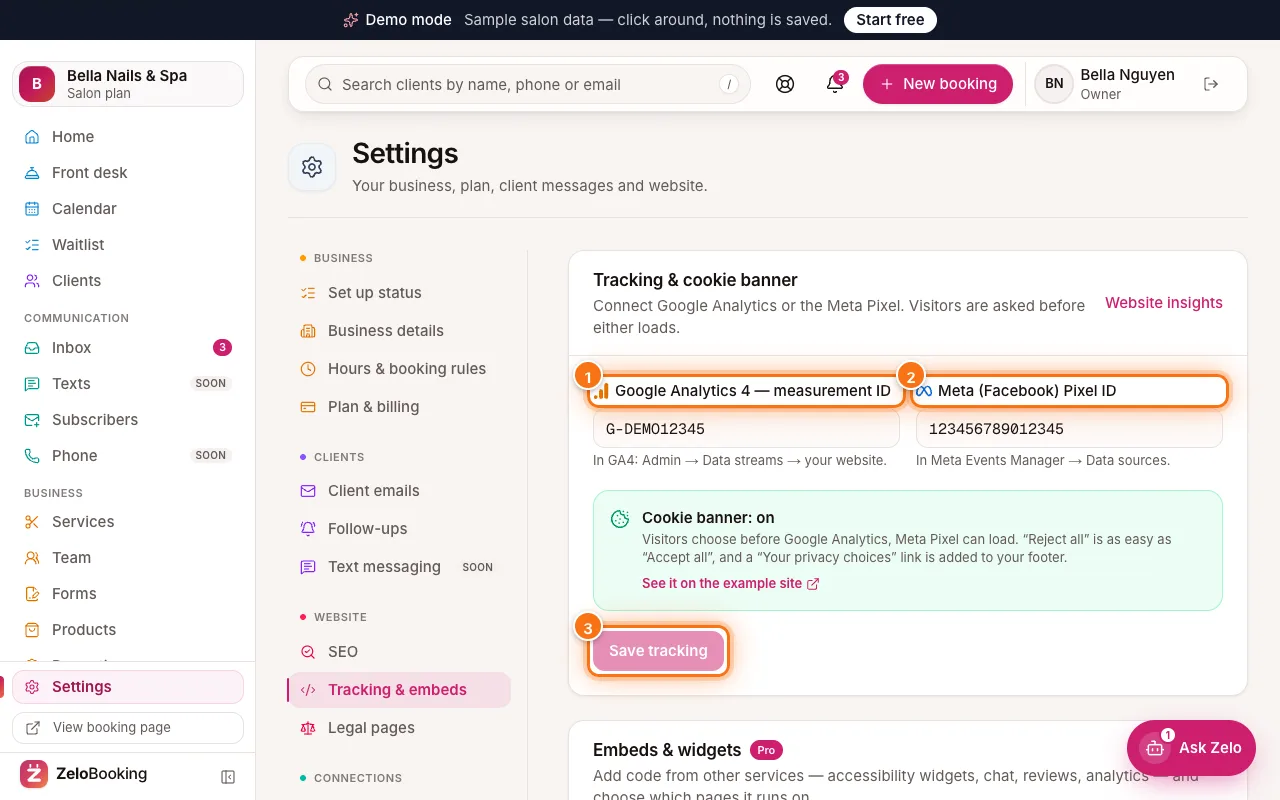
Tracking & cookie banner with the Google Analytics (1) and Meta Pixel (2) fields and Save tracking (3) highlighted - 2
The cookie banner turns on by itself
As soon as you add an ID, your website shows a cookie banner. Visitors choose before Google Analytics or the Meta Pixel load, “Reject all” is as easy as “Accept all”, and a “Your privacy choices” link is added to your footer. Click “See it on the example site” to see it.
- 3
Add an embed (Pro)
Under “Embeds & widgets”, click “Add embed” (1) to add code from another service — an accessibility widget, live chat, reviews. “Preview on your site” (2) shows your site with the embeds before you rely on them.
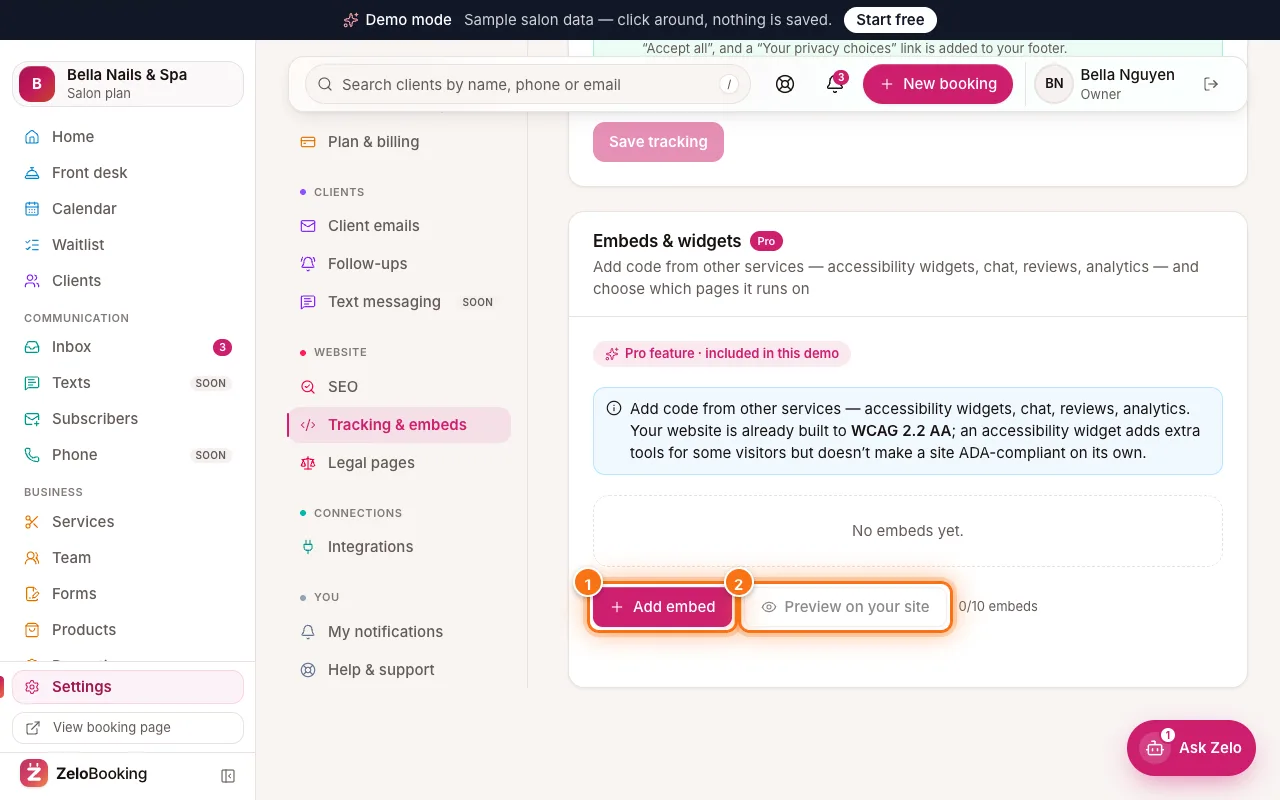
Embeds & widgets with Add embed (1) and Preview on your site (2) highlighted - 4
Paste the code and choose where it runs
Give it a “Title” (1) and paste the “Embed code” (2) exactly as the service gives it. Then choose:
- Where in the page — “End of page” (most widgets) or “In <head>”.
- Show on — all pages or only the pages you pick.
- “Also run on the booking page” — only for code from a company you trust.
- “Does it set cookies?” — pick analytics or marketing so it waits for the visitor’s consent.
Click “Save embed” (3).
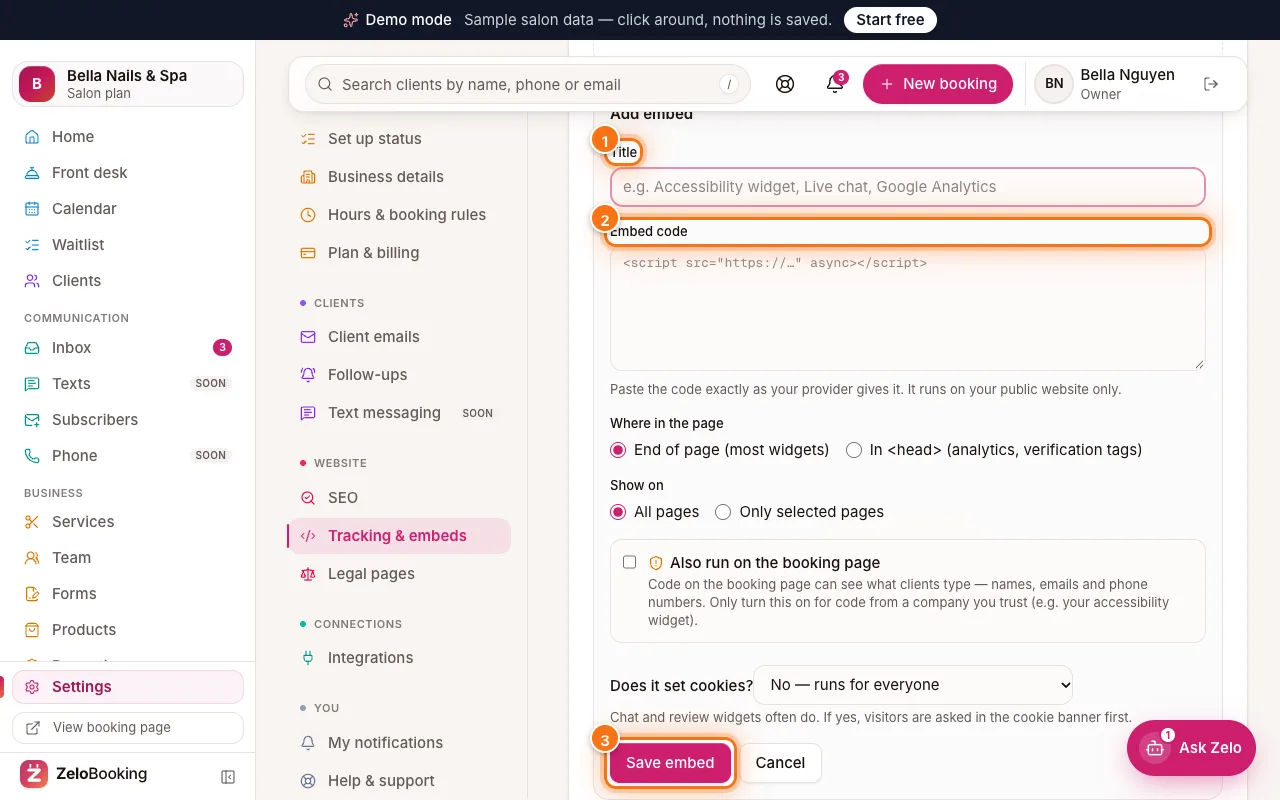
Add embed form with Title (1), Embed code (2) and Save embed (3) highlighted