Video walkthrough coming soon
The written steps below cover everything in the meantime.
About 6 min to follow along
When you’re done
- A newsletter in your subscribers’ inboxes — now or at the time you chose
- A test copy in your own inbox first
- A report: sent, delivered, bounced, unsubscribed
- 1
Open Newsletters
In the left menu, click “Subscribers”, then the “Newsletters” tab at the top. Owners and admins see it; the front desk doesn’t.
The boxes at the top show how many subscribers will get your next newsletter and how many newsletter emails your plan has left this month. Below is every newsletter you’ve written: drafts, scheduled ones and sent ones with their numbers.
Tip: Add your business address in Settings → Business details first: every newsletter must show it, so nothing can be sent without it.
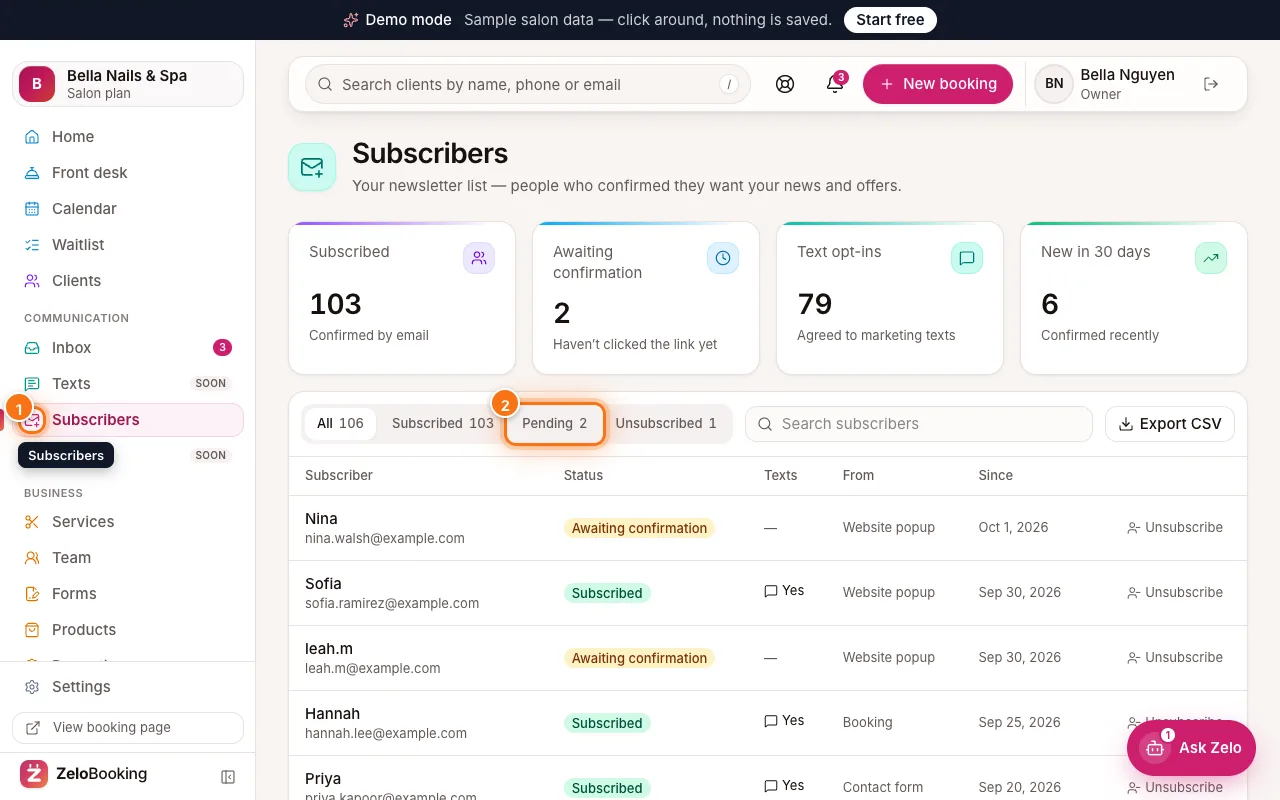
Subscribers with the Subscribers icon in the left menu (1) and the Pending filter (2) highlighted - 2
Write it
Click “New newsletter” (or “Write a newsletter” on the Subscribers tab).
- Subject — short and specific, e.g. “Fall color week: 15% off”.
- Preview text (optional) — shown after the subject in most inboxes.
- Headline (optional) — the big title at the top of the email.
- Message — select words to make them bold, italic or a link; a blank line starts a new paragraph.
- Photo (optional) — “Choose a photo” from your media library or our stock photos, then describe it for people who can’t see it.
- Button (optional) — switch it on; it suggests “Book now” with your booking page.
Your draft saves itself as you type — “Draft saved” shows at the top.
- 3
Preview it and send yourself a test
The preview beside the editor is exactly the email your subscribers get. Switch between “Desktop” and “Phone”, or “Plain text”.
Click “Send me a test”: it goes to your own login email only, so you can check it in a real inbox.
- 4
Choose who gets it
Under “Who gets it” you see how many people it goes to: everyone who confirmed their subscription. Switch on “Also clients who agreed to emails” to include clients who ticked “Send me offers” when booking.
Nobody who said no, unsubscribed or whose email bounced is ever included, and each address gets it once.
- 5
Send now or schedule it
Under “Send”, pick “Send now” or “Schedule for later” and choose the date and time (your business’s time).
“Before you can send” lists anything missing. When it says “Ready”, click “Send now…” or “Schedule…” and confirm. Big lists go out over a few minutes (more than 10,000 emails: over a few days); you can stop it while it’s going out. If this month’s emails are used up, you can still schedule it for next month.
- 6
See how it did
Open a newsletter from the list to see its report: sent, delivered, bounced, unsubscribed and marked as spam. Opens and clicks aren’t tracked — there’s no tracking pixel.
A scheduled newsletter has “Cancel send” (it goes back to your drafts); one that’s going out has “Stop sending”. One marked “Not sent” says why (for example no business address yet) — fix it, press “Back to draft” and send it again.